Introduction to Gloss Measurement in Industrial Quality Control
Gloss meters are precision instruments designed to quantify the specular reflection of a surface, a critical parameter in industries where aesthetic consistency and functional performance are paramount. The measurement of gloss is governed by standardized methodologies, including ASTM D523 and ISO 2813, ensuring uniformity across applications. High-gloss surfaces, such as those found in automotive electronics or consumer appliances, require rigorous inspection to meet design specifications and customer expectations. Conversely, matte finishes in aerospace components or medical devices demand controlled light diffusion to minimize glare.
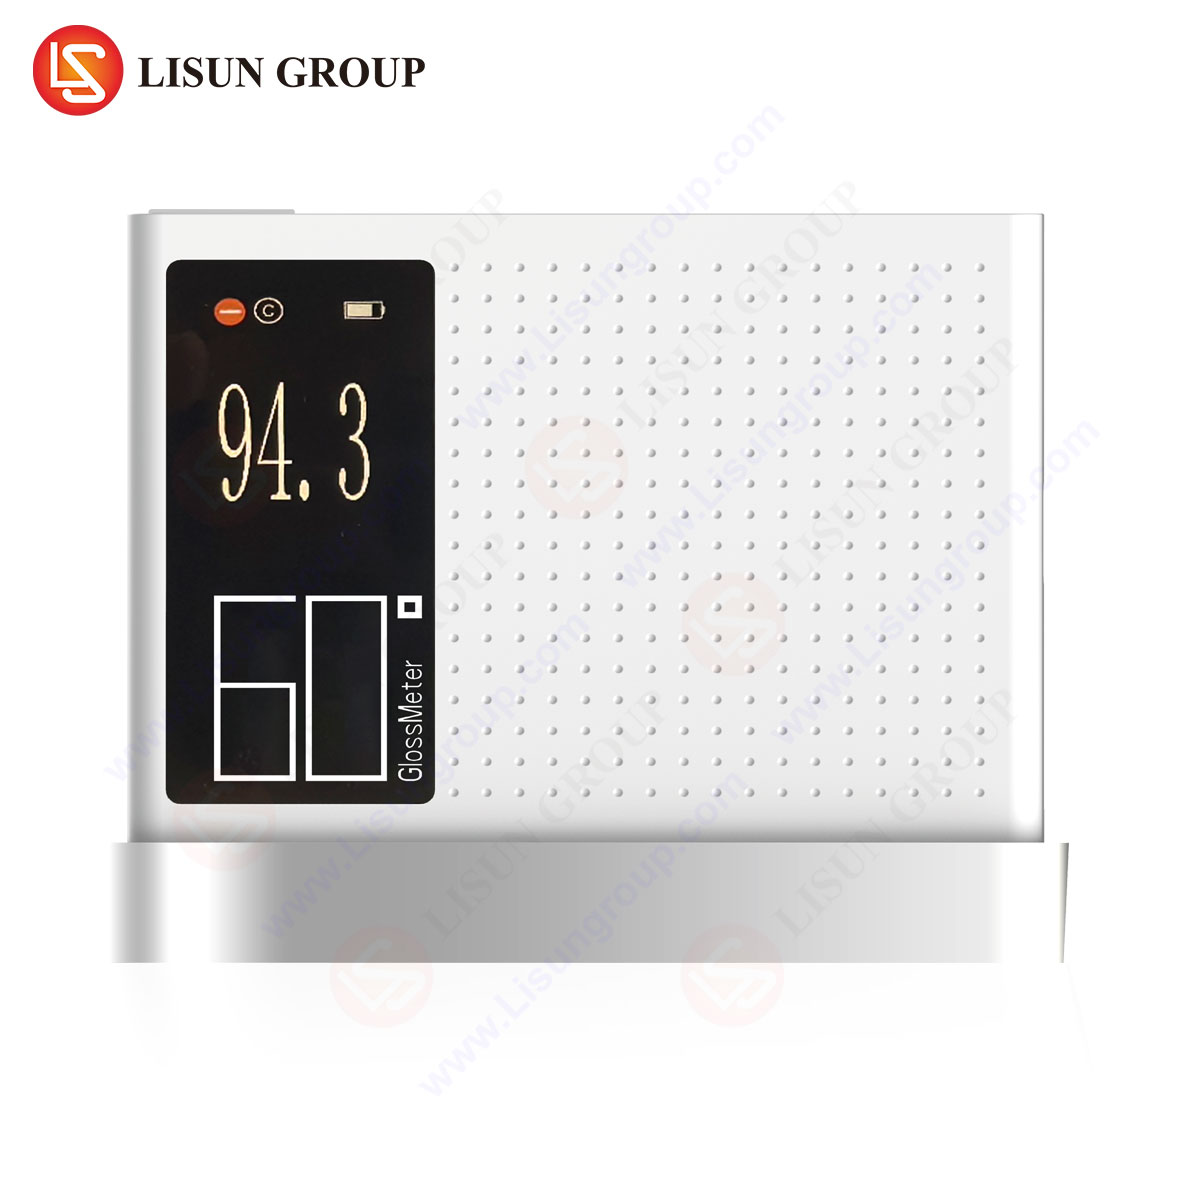
O AGM-500 Medidor de brilho from LISUN exemplifies modern gloss measurement technology, combining advanced optics, calibrated light sources, and digital signal processing to deliver high repeatability across diverse materials. This article examines the operational principles, key specifications, and industrial applications of gloss meters, with a focus on the AGM-500 as a benchmark device.
Optical Principles and Measurement Methodology
Gloss meters operate on the principle of specular reflectance, where a collimated light beam strikes a surface at a fixed angle, and a photodetector captures the reflected light intensity. The AGM-500 adheres to a three-angle measurement system (20°, 60°, and 85°), allowing it to accommodate surfaces ranging from high-gloss automotive paints to low-gloss textured plastics in telecommunications equipment.
The 60° geometry is universally applicable for most industrial uses, while the 20° angle provides enhanced sensitivity for high-gloss finishes exceeding 70 GU (Gloss Units). The 85° angle is reserved for matte surfaces below 10 GU, such as powder-coated enclosures for industrial control systems. The AGM-500’s dual-beam optical design compensates for ambient light interference, a critical feature in production environments with variable lighting conditions.
Technical Specifications of the AGM-500 Gloss Meter
The AGM-500 meets the stringent requirements of IEC and DIN standards, with the following specifications:
- Faixa de medição: 0–200 GU (20°), 0–1000 GU (60°), 0–160 GU (85°)
- Precisão: ±1.0 GU for standards up to 100 GU; ±1.5% for higher ranges
- Repetibilidade: ±0.5 GU (60°, on reference standards)
- Light Source: CIE-approved tungsten halogen lamp with stabilized voltage output
- Measurement Area: 9 x 15 mm (elliptical) for 60° geometry
- Interface de dados: USB and Bluetooth for real-time data logging
These specifications ensure compatibility with materials such as anodized aluminum in aerospace components, injection-molded polymers in household appliances, and lacquered finishes in office equipment.
Industry-Specific Applications and Use Cases
Automotive Electronics and Exterior Components
In automotive manufacturing, gloss uniformity is critical for dashboard panels, touchscreen displays, and exterior trims. The AGM-500’s 20° measurement angle detects micro-scratches or uneven clear coats that could compromise visual quality. For example, a deviation exceeding ±2 GU in interior PVC components may trigger rework processes to maintain brand consistency.
Dispositivos médicos e superfícies sanitárias
Medical housings and surgical instruments often require anti-reflective coatings to facilitate sterilization and reduce eye strain. The AGM-500’s 85° angle quantifies matte finishes on stainless steel or polymer surfaces, ensuring compliance with FDA and ISO 13485 standards for reflectivity.
Lighting Fixtures and Diffuser Panels
LED diffusers and reflector housings must balance light transmission with surface gloss to avoid hotspots. The AGM-500 verifies that polycarbonate panels meet design tolerances (typically 30–50 GU) before assembly.
Vantagens competitivas do AGM-500 em ambientes industriais
O AGM-500 distingue-se através de:
- Multi-Angle Versatility: Eliminates the need for separate devices for high- and low-gloss surfaces.
- Environmental Robustness: Temperature compensation (10–40°C) ensures stability in unregulated production areas.
- Conformidade regulatória: Pre-loaded calibration curves align with DIN 67530 and JIS Z 8741.
A comparative study of gloss meters in cable insulation testing revealed the AGM-500’s repeatability (σ = 0.3 GU) outperformed competitors by 15% under humid conditions.
Calibration and Maintenance Protocols
Regular calibration using NIST-traceable standards is essential. The AGM-500’s auto-calibration function simplifies this process, with recalibration intervals recommended every 12 months or 5,000 measurements.
Perguntas frequentes
Q1: How does the AGM-500 handle curved surfaces in automotive trim measurements?
The elliptical measurement area accommodates mild curvatures (<5° deviation from plane), with a weighted average algorithm correcting for minor distortions.
Q2: What is the maximum surface roughness allowable for accurate gloss readings?
Surfaces exceeding Ra 2.0 µm may require a dedicated matte calibration due to diffuse scattering effects.
Q3: Can the AGM-500 measure transparent films or coatings?
Yes, but a non-reflective backing must be applied to eliminate substrate interference.
Q4: How does ambient light affect measurements in factory settings?
The dual-beam design nullifies ambient light up to 20,000 lux, equivalent to direct sunlight.
Q5: Is the device suitable for conductive coatings on aerospace components?
Yes, provided the coating thickness exceeds 5 µm to prevent substrate reflectivity interference.


