Introduction to Single Angle Gloss Measurement
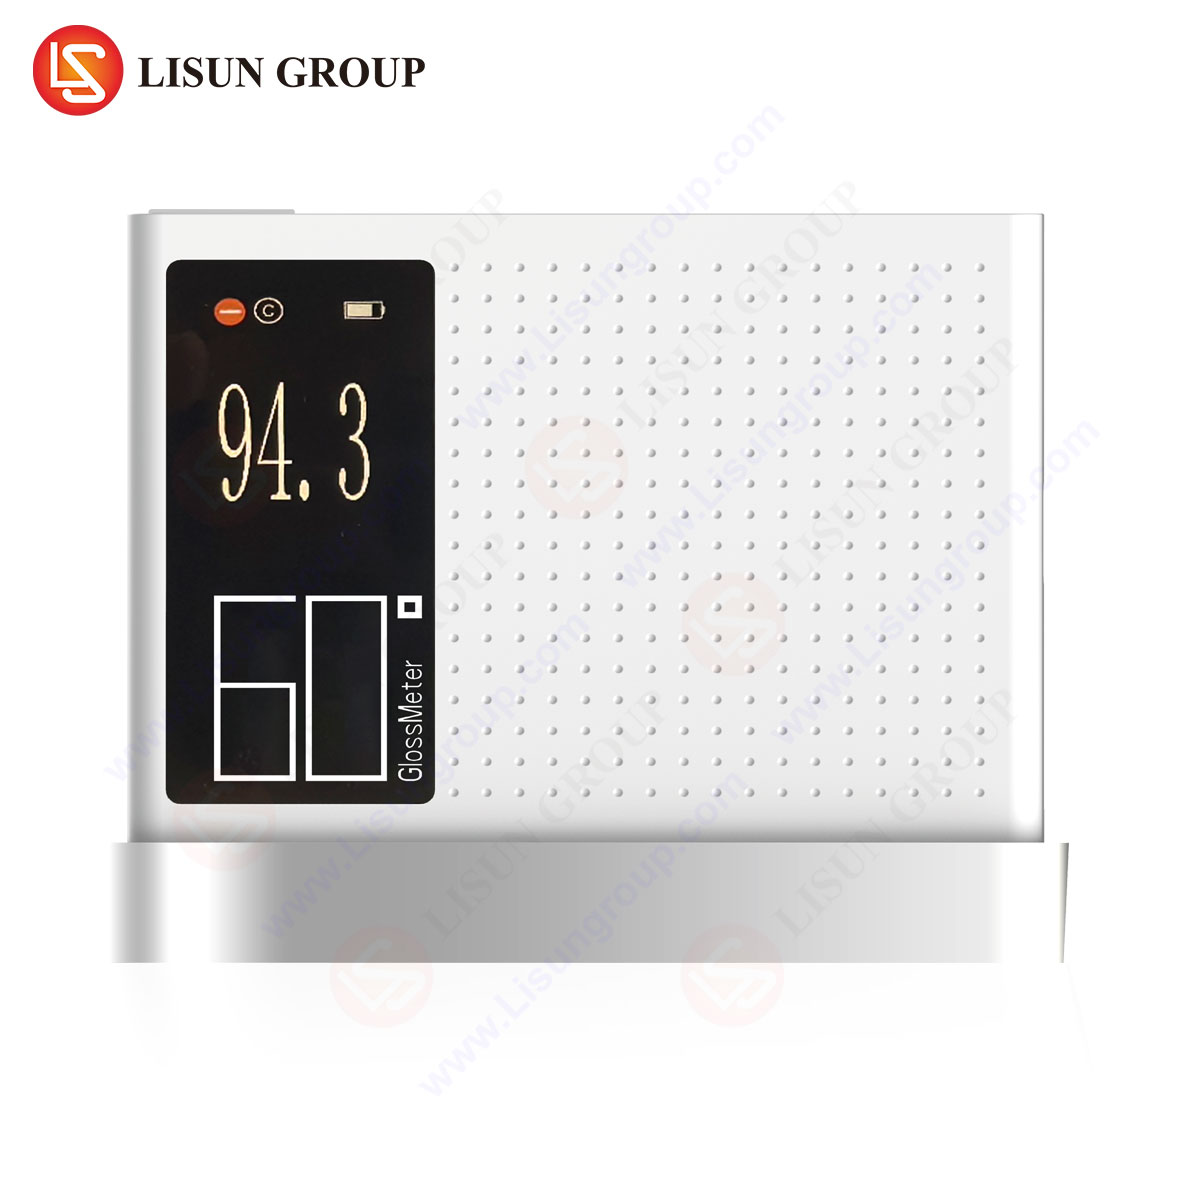
Gloss measurement is a critical quality control parameter across multiple industries, influencing both aesthetic and functional product performance. Single Angle Technology refers to the use of a fixed measurement geometry—typically 60°—to assess surface gloss in accordance with international standards such as ASTM D523 and ISO 2813. The LISUN AGM-500 Miernik połysku exemplifies this methodology, providing reliable, repeatable measurements for materials ranging from high-gloss automotive coatings to matte electronic enclosures.
This article examines the principles, applications, and technical advantages of Single Angle Technology, with a focus on the AGM-500’s role in ensuring compliance and consistency in industrial settings.
Fundamental Principles of Gloss Measurement
Gloss quantifies the ability of a surface to reflect light directionally. The AGM-500 employs a 60° geometry, the most widely used angle for general-purpose gloss evaluation. Light from a calibrated source strikes the surface at the specified angle, and a photodetector measures the intensity of reflected light. The result is expressed in Gloss Units (GU), where a perfectly polished black glass standard with a refractive index of 1.567 defines 100 GU at 60°.
Key factors influencing measurement accuracy include:
- Surface texture: Roughness scatters light, reducing gloss readings.
- Material composition: Paints, plastics, and metals exhibit distinct reflectance behaviors.
- Environmental conditions: Temperature and humidity can affect instrument calibration.
The AGM-500 mitigates these variables through precision optics, temperature-stable components, and adherence to ISO 2813 calibration protocols.
AGM-500 Gloss Meter: Technical Specifications
The AGM-500 is engineered for laboratory and production-line environments, offering the following specifications:
| Parametr | Specyfikacja |
|---|---|
| Measurement Angle | 60° (standard), optional 20° and 85° for high/low-gloss materials |
| Zakres pomiaru | 0–2000 GU (60°) |
| Dokładność | ±1.0 GU (0–100 GU), ±1% (100–2000 GU) |
| Powtarzalność | ±0.2 GU (0–100 GU), ±0.2% (100–2000 GU) |
| Light Source | CIE Standard C (6774K) |
| Zgodność | ISO 2813, ASTM D523, DIN 67530 |
The device features a high-resolution LCD, internal calibration verification, and automatic temperature compensation to ensure stability across operating conditions.
Aplikacje branżowe
Automotive Electronics and Coatings
In automotive manufacturing, consistent gloss levels are critical for interior trims, dashboard components, and exterior paints. The AGM-500 detects micro-surface defects in clear coats, ensuring compliance with OEM specifications. For example, a deviation exceeding ±2 GU in a high-gloss piano-black finish may trigger rejection in luxury vehicle production.
Urządzenia gospodarstwa domowego i elektronika użytkowa
Matte and semi-gloss finishes dominate appliance surfaces to minimize fingerprint visibility. The AGM-500 verifies uniformity across batches of refrigerator panels or smartphone casings, where a target gloss range of 10–30 GU is typical.
Komponenty lotnicze i kosmiczne
Composite materials used in aircraft interiors require strict gloss control to meet FAA and EASA flammability and reflectivity standards. The AGM-500’s repeatability (±0.2 GU) ensures compliance with Airbus AIMS 06-01-003 and Boeing BMS 8-79.
Competitive Advantages of the AGM-500
- Zgodność z wieloma standardami: Unlike competitors limited to a single standard, the AGM-500 supports ASTM, ISO, and DIN methodologies without hardware reconfiguration.
- Zakres dynamiczny: Capable of measuring ultra-matte (0.5 GU) and high-gloss (2000 GU) surfaces with a single device.
- Robust Design: IP54-rated housing resists dust and moisture, critical for factory-floor deployment.
Calibration and Traceability
The AGM-500’s calibration chain adheres to NIST-traceable standards. Users can verify performance using certified reference tiles, with recalibration recommended annually or after 10,000 measurements.
Sekcja FAQ
Q1: Why is 60° the standard angle for gloss measurement?
60° provides optimal sensitivity for most industrial materials, balancing precision across mid-gloss ranges (10–70 GU). High-gloss (>70 GU) and low-gloss (<10 GU) surfaces may require 20° or 85° geometries.
Q2: How does temperature affect AGM-500 measurements?
The device compensates for thermal drift up to 40°C, but extreme conditions (>85% RH or <5°C) may require recalibration.
Q3: Can the AGM-500 measure curved surfaces?
Yes, provided the measurement area (10mm x 10mm) is flat and uniformly illuminated. Convex or concave radii below 5mm may distort readings.
Q4: What industries require gloss measurement beyond aesthetics?
Lighting fixtures and medical devices use gloss data to control light diffusion and sterilization compatibility, respectively.
Q5: How does the AGM-500 compare to portable gloss meters?
Laboratory-grade models like the AGM-500 offer superior repeatability (±0.2 GU vs. ±1.5 GU for handheld units) for R&D and certification workflows.


