The Optical Principles of 45-Degree Gloss Measurement
Gloss is a fundamental visual attribute of a surface, defined by its ability to reflect incident light in a specular direction. The perception of gloss is intrinsically linked to the surface’s microscopic topography and its refractive index. A 45-Degree Glossmeter is a precision photometric instrument engineered to quantify this property by measuring the specular reflectance of a surface at a fixed geometry of 45 degrees to the normal. This specific geometry is not arbitrary; it is standardized to optimally evaluate surfaces with a medium gloss range, which are pervasive across numerous industrial sectors.
The underlying principle of operation is governed by the Fresnel equations, which describe how light is reflected at an interface between two media with different refractive indices. For a perfectly smooth, ideal mirror surface (a perfect reflector), the specular reflectance is at its maximum. Real-world surfaces, however, exhibit varying degrees of roughness. When light strikes a rough surface, it is scattered in multiple directions due to diffraction and diffusion. The proportion of light reflected in the specular direction, compared to that reflected by a known reference standard, defines the gloss unit (GU). The measurement is therefore a comparative, rather than an absolute, value. The 45° geometry, as stipulated by standards such as ASTM D523 and ISO 2813, provides a balanced sensitivity for semi-gloss finishes, effectively differentiating between surfaces that may appear similar to the naked eye but possess critical differences in their reflective properties.
Instrumentation and the AGM-500 Mesureur de brillance
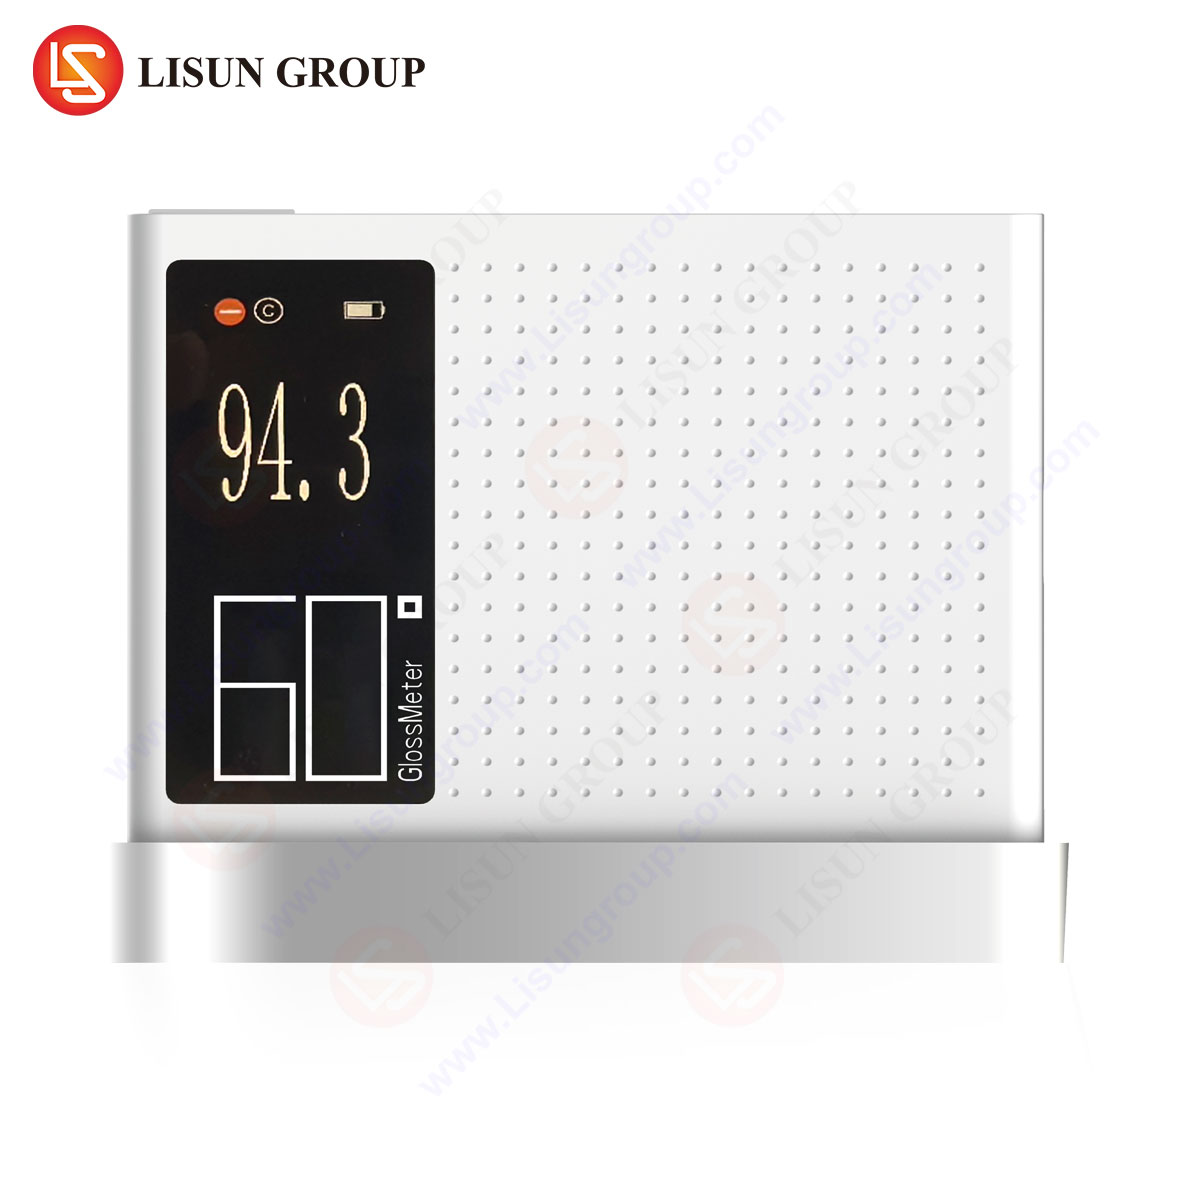
A modern 45-Degree Glossmeter, such as the LISUN AGM-500, is a sophisticated electro-optical system comprising several integrated components. The system architecture includes a stable, calibrated light source that emits a beam of light, which is collimated and directed onto the target surface at a precise 45-degree angle. The reflected specular component is collected by a receptor lens positioned at the mirror-reflected angle (also 45-degrees from the normal) and focused onto a high-sensitivity photodetector. The photodetector converts the luminous flux into an electrical signal, which is processed by an internal microprocessor to calculate and display the gloss value in Gloss Units (GU).
The LISUN AGM-500 exemplifies this design with a suite of advanced features. It utilizes an LED light source paired with a silicon photocell detector, ensuring long-term stability, minimal thermal drift, and low power consumption. The instrument is calibrated against a highly polished black glass standard with a defined refractive index of 1.567, which is assigned a value of 100.0 GU at the specified geometry. The AGM-500 is designed for both laboratory precision and production line robustness, featuring a high-resolution LCD display, statistical analysis capabilities (including high, low, and average values), and a durable housing resistant to environmental factors. Its ergonomic design facilitates single-handed operation, which is critical for high-volume quality control inspections.
Standards Compliance and Calibration Protocols
Adherence to international standards is paramount for ensuring measurement consistency, repeatability, and inter-instrument agreement. The 45-Degree Glossmeter is governed primarily by ASTM D523 (Standard Test Method for Specular Gloss) and ISO 2813 (Paints and varnishes — Determination of gloss value at 20°, 60° and 85°). While these standards define multiple geometries, the 45° angle is explicitly designated for intermediate gloss films, typically those reading between 10 and 70 GU when measured at 60 degrees. This makes it exceptionally suitable for the finishes common on plastics, ceramics, and certain painted surfaces.
Calibration is a critical procedure that must be performed regularly to maintain traceability and accuracy. The process involves measuring a certified calibration tile, which has a known gloss value traceable to a national metrology institute. The AGM-500 simplifies this process with a user-friendly calibration routine. For ultimate precision, instruments should be calibrated using a set of tiles spanning low, medium, and high gloss ranges to verify linearity across the entire measurement scale. Environmental factors, particularly the accumulation of dust or oils on the instrument’s aperture or the calibration standards, represent a significant source of error and must be meticulously controlled through regular cleaning with appropriate solvents and lint-free cloths.
Industrial Applications in Manufacturing and Quality Assurance
The quantitative data provided by a 45-Degree Glossmeter is indispensable for quality control and process optimization across a diverse range of industries. It provides an objective, numerical value that replaces subjective visual assessments, eliminating operator bias and ensuring product consistency.
In the Électronique automobile and interior components sector, gloss uniformity is critical for aesthetic harmony. Components such as dashboard panels, control knobs, touchscreen bezels, and vent housings must match precisely to meet stringent OEM specifications. A slight deviation in gloss on a single component can create a visible mismatch, leading to product rejection. Similarly, for Appareils ménagers, the gloss of control panels, refrigerator doors, and washing machine interfaces must be consistent across production batches and different product lines to maintain brand identity and perceived quality.
Le Électronique grand public industry relies heavily on gloss measurement for the casings of smartphones, laptops, tablets, and wearables. A specific gloss level is often a key design element, conveying a sense of premium quality (high gloss) or understated functionality (low semi-gloss). The Composants électriques industry uses glossmeters to verify the finish on switches, sockets, and wall plates, ensuring they are not only aesthetically pleasing but also free from surface defects that could indicate underlying manufacturing issues, such as improper mold release or inconsistent paint application.
Pour Luminaires, the surface finish of reflectors and diffusers directly impacts light distribution and efficiency. A gloss measurement ensures the optical properties of these components are consistent and perform as designed. In Dispositifs médicaux, where cleanability and the ability to withstand repeated chemical sterilization are paramount, a controlled gloss finish can indicate a properly cured and sealed surface, free from microscopic pores that could harbor contaminants.
Technical Specifications of the AGM-500 Gloss Meter
The performance of a glossmeter is defined by its technical specifications. The LISUN AGM-500 is characterized by the following parameters, which underscore its suitability for industrial and laboratory environments:
| Paramètre | Spécification |
|---|---|
| Measurement Geometry | 45° |
| Measuring Range | 0.0 to 200.0 GU |
| Measuring Spot Size | 10mm x 10mm (elliptical) |
| Light Source | LED, 555nm wavelength (peak) |
| Affichage | High-resolution LCD |
| Précision de mesure | ±1.0 GU |
| Résolution | 0.1 GU |
| Calibration | Automatic, to a supplied high-gloss calibration standard |
| Data Management | Statistics (AVG, MAX, MIN), storage for groups of data |
| Interface | USB |
| Power Source | Rechargeable lithium battery |
| Conformité aux normes | ASTM D523, ISO 2813, DIN 67530, JIS Z 8741 |
These specifications ensure the instrument provides reliable, accurate, and repeatable data. The 555nm wavelength light source is chosen because it corresponds to the peak sensitivity of the human eye, ensuring the measurement correlates strongly with visual perception.
Comparative Advantages in a Competitive Landscape
The AGM-500 possesses several distinct advantages that position it as a preferred tool for quality assurance professionals. Its measurement accuracy of ±1.0 GU is highly competitive, providing the precision necessary for detecting subtle but critical variations in surface finish. The robust construction and ergonomic design make it suitable for the demanding environment of a production floor, while its statistical functions and data output capabilities meet the rigorous data integrity requirements of a laboratory setting.
A key differentiator is its long-term stability and measurement consistency, attributed to the high-quality LED light source and precision optical components. Unlike incandescent sources, the LED is not subject to filament degradation, ensuring the emitted light intensity remains constant over thousands of hours of operation. Furthermore, the instrument’s automatic calibration check reminder and user-replaceable components reduce downtime and total cost of ownership. The ability to handle large datasets directly on the device streamlines the quality control workflow, allowing for immediate trend analysis and decision-making without the immediate need for a connected PC.
Mitigating Common Measurement Errors and Pitfalls
Obtaining accurate gloss measurements requires careful attention to technique and sample preparation. A primary source of error is surface contamination; even faint fingerprints, dust, or oils can significantly scatter light and depress the gloss reading. Samples must be meticulously cleaned prior to measurement. Similarly, the instrument’s calibration tile and aperture must be kept pristine.
Sample curvature and rigidity can also introduce error. The instrument must be placed on a perfectly flat, stable surface to maintain the precise 45-degree geometry. Measuring curved surfaces requires specialized fixtures or a recognition that the result may be an approximation. The orientation of the measurement can also be critical for surfaces with directional texture or brush marks; standards often dictate measuring both parallel and perpendicular to the grain and averaging the results. Environmental factors, such as ambient light leaking into the optical path or extreme temperatures affecting the electronics, must be controlled. The AGM-500 is designed to mitigate these issues with a secure, light-sealing measurement head and stable electronics, but operator awareness remains essential.
The Role of Gloss Data in Supply Chain Management
Quantitative gloss measurement transcends simple quality control; it is a critical tool for supply chain management and vendor qualification. By defining exact gloss tolerances in technical datasheets and purchase orders, manufacturers can objectively assess components received from multiple suppliers. This data-driven approach eliminates disputes arising from subjective visual evaluations and ensures that parts from different vendors or production facilities are seamlessly integrated into the final assembly. A digital record of gloss measurements, easily generated by the AGM-500, provides an auditable trail for compliance and continuous improvement initiatives, enabling root cause analysis for any finish-related non-conformances.
Questions fréquemment posées
Q1: Why is the 45-degree geometry specifically chosen for these applications?
The 45-degree geometry offers optimal discrimination for surfaces exhibiting intermediate gloss levels, typically found on plastics, vinyl, and semi-gloss paints. It is less sensitive than 20° for high-gloss surfaces and less sensitive than 85° for low-gloss surfaces, providing the ideal balance for the materials used in electronics, appliances, and automotive interiors.
Q2: How often should the AGM-500 be calibrated?
The calibration frequency depends on usage intensity and the required level of precision. For critical laboratory work, daily or weekly calibration is recommended. For general quality control in a production environment, a monthly calibration schedule is typically sufficient. The instrument should always be calibrated if it is subjected to physical shock or significant environmental changes.
Q3: Can the AGM-500 measure curved surfaces?
While it is possible, accuracy will be compromised on curved surfaces because the defined geometry cannot be maintained. For convex surfaces, the spot becomes distorted, and for concave surfaces, the instrument’s aperture may not make proper contact. For reliable results on non-flat samples, specialized fixtures or a glossmeter designed with a smaller aperture may be necessary.
Q4: What is the significance of the gloss unit (GU) value?
A Gloss Unit is a relative value. A reading of 100 GU means the sample reflects the same amount of light as the calibration standard (black glass with a refractive index of 1.567) when measured at the same angle. A value of 50 GU means it reflects half the light, and a value above 100 GU indicates it is more reflective than the standard. The value itself is most useful for comparative purposes against a specification limit or for tracking consistency.
Q5: Does color affect gloss measurement?
The gloss measurement is primarily a geometric measurement of reflectance. While the photodetector is most sensitive to the green spectrum (555nm), the perceived color of a surface has a minimal effect on the gloss reading. A very dark black and a pure white sample with identical surface topography will yield nearly identical gloss values. However, extremely transparent coatings or films may require a black glass substrate underneath to prevent light transmission from affecting the result.


