


A Comprehensive Technical Protocol for Earth Resistance Measurement in Grounding Systems
Introduction to Grounding System Integrity and Measurement Imperatives
The efficacy of a grounding system constitutes a fundamental pillar of electrical safety, equipment protection, and electromagnetic compatibility across a vast spectrum of industries. A low-impedance path to earth is critical for dissipating fault currents, mitigating step and touch potentials, stabilizing reference voltages, and shielding sensitive electronics from transient surges. The quantitative metric for this efficacy is earth resistance, measured in ohms (Ω). Inadequate grounding, characterized by excessively high resistance, can precipitate catastrophic failures, including equipment damage from lightning strikes, operational disruption due to electromagnetic interference (EMI), and severe personnel safety hazards. Consequently, the accurate and reliable measurement of earth resistance is not merely a recommended practice but a codified requirement within numerous international standards, such as IEC 60364, IEEE 81, and NFPA 70 (National Electrical Code). This document delineates a rigorous, step-by-step methodology for performing these measurements, emphasizing procedural fidelity to ensure data integrity.
Fundamental Principles Governing the Fall-of-Potential Method
The predominant technique for measuring the resistance of an earth electrode to the surrounding soil is the Fall-of-Potential method, also known as the three-pole method. Its operational principle is based on Ohm’s Law (V=IR). A known alternating current (I) is injected between the electrode under test (E) and a remote current probe (C). The resulting voltage drop (V) is then measured between the test electrode (E) and a potential probe (P) inserted at a specific point along the E-C axis. The earth resistance (R) is calculated as R = V/I. The critical objective is to position the potential probe (P) within the “effective radius of influence” of the test electrode but outside its inherent resistance area and that of the current probe. This ensures the measured voltage represents the true potential gradient attributable solely to the test electrode. For a single rod electrode, the 61.8% rule (or 62% rule) derived from electrical field theory is often applied: the potential probe is placed at approximately 61.8% of the distance from E to C. Verification involves taking additional readings with P placed at 52% and 72% of the E-C distance; if the three readings are within an acceptable variance (e.g., ±5%), the distance to C is sufficient, and the reading at 61.8% is considered valid.
Pre-Measurement Site Assessment and Safety Protocol
Prior to initiating any field measurement, a comprehensive site-specific risk assessment is mandatory. De-energize all connected equipment where possible and utilize appropriate lock-out/tag-out (LOTO) procedures. Verify the absence of voltage on the grounding conductor using a certified voltage detector. Inspect the physical condition of the test electrode and its connections for corrosion or damage. Identify and document potential sources of measurement interference, such as stray earth currents from other systems, conductive buried structures (pipelines, cable sheaths, rebar), or large metal fences. These can create galvanic loops or alter current paths, skewing results. Furthermore, assess soil composition and moisture content, as these are primary determinants of soil resistivity—a key variable influencing grounding design. The use of personal protective equipment (PPE) including insulated gloves, safety glasses, and voltage-rated footwear is non-negotiable.
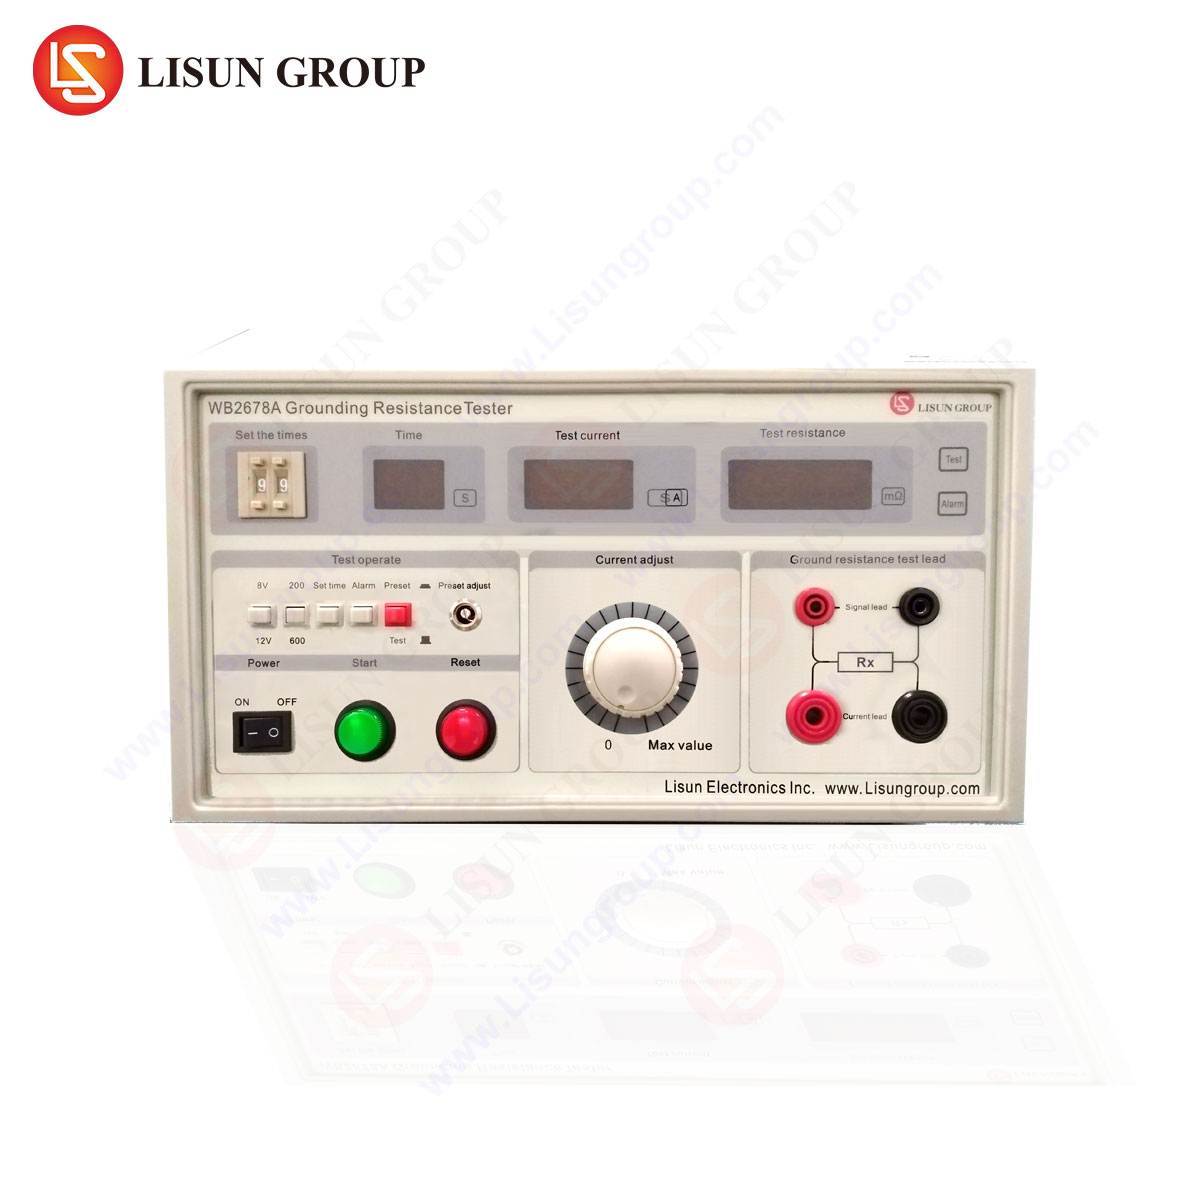
Instrument Selection and Configuration: The LISUN WB2678A Grounding Resistance Tester
Selecting an instrument with appropriate accuracy, measurement range, and interference rejection capabilities is paramount. The LISUN WB2678A Grounding Resistance Tester is engineered to meet the rigorous demands of modern grounding system verification. It operates on the classic Fall-of-Potential principle but incorporates advanced signal processing to enhance accuracy in electrically noisy environments.
Key Specifications of the LISUN WB2678A:
- Measurement Ranges: 0.00Ω to 20.00Ω (high resolution), 0.0Ω to 200.0Ω, 0 to 2000Ω.
- Test Frequency: Selectable 94Hz, 105Hz, 111Hz, 128Hz to avoid interference from common powerline frequencies (50Hz/60Hz) and their harmonics.
- Test Current: Up to 20mA AC, ensuring sufficient signal strength without requiring excessive power or posing safety risks.
- Noise Rejection: Capable of rejecting up to 40V of peak-to-peak interference voltage, critical for measurements in industrial or urban substations.
- Open Circuit Voltage: ≤ 40V AC, compliant with safety standards for live system testing.
- Data Features: Data hold, MAX/MIN/AVG recording, and backlit LCD display for field readability.
The WB2678A’s competitive advantage lies in its robust design for field use, its selectable test frequencies which nullify the impact of stray currents—a common challenge in industrial control systems and telecommunications equipment sites—and its ability to measure both low resistance (critical for medical device isolation grounding) and higher resistance values encountered in poor soil conditions.
Step-by-Step Measurement Procedure for an Isolated Electrode
- Isolate the Electrode: Physically disconnect the earth electrode under test from the facility’s grounding network to prevent parallel paths that would yield falsely low readings.
- Establish Probe Layout: Lay out the test leads in a straight line from the electrode. Drive the current probe (C) into the earth at a distance at least 5 times the diagonal length of the grounding system (or 25-30 meters for a single rod). For initial verification using the 61.8% rule, a distance of 10 times the rod length is a common minimum.
- Insert the Potential Probe: Temporarily place the potential probe (P) at the estimated 61.8% point between E and C.
- Connect the Instrument: Connect the WB2678A using dedicated, high-integrity test leads. Connect the E terminal to the electrode under test, the P terminal to the potential probe, and the C terminal to the remote current probe. Ensure all connections are clean and tight.
- Perform Initial Measurement: Power on the WB2678A. Select an appropriate resistance range (start with auto-range if available) and a test frequency unlikely to coincide with local interference (128Hz is often a default). Initiate the test.
- Verify Probe Placement (61.8% Rule): Record the resistance value (R1). Move the potential probe to 52% of the E-C distance, measure (R2), then to 72%, measure (R3). If R1, R2, and R3 are within a predefined tolerance (e.g., ±5%), the distance to C is adequate, and R1 is the valid earth resistance. If not, increase the distance to the current probe (C) and repeat the process.
- Document Results: Record the final resistance value, soil conditions, temperature, probe distances, and instrument settings. Note any anomalies or sources of potential interference.
Advanced Techniques for Complex and Integrated Grounding Systems
Many modern facilities, such as data centers, aerospace component manufacturing plants, and automotive electronics testing labs, feature complex grounding grids or systems where individual electrode isolation is impractical. For these, alternative techniques are employed.
- Selective Measurement: Using a clamp-on ground tester or a specialized technique with the WB2678A and a current clamp, individual electrode resistance can be measured without disconnection by selectively measuring the current flowing in the branch of interest.
- Stakeless (Clamp-On) Measurement: This method uses a transformer principle to measure loop resistance of an electrode connected to a complete grounding system. It is fast and requires no auxiliary probes but is only accurate if multiple parallel paths to ground exist, which is typical in telecommunications equipment huts or lighting fixture array grounds.
- Soil Resistivity Measurement (Wenner Method): For design purposes, understanding soil resistivity is key. The WB2678A can be configured in a four-pole arrangement. Four equally spaced probes are driven in a line. The instrument injects current between the outer probes and measures voltage between the inner probes. Soil resistivity (ρ) is calculated as ρ = 2πaR, where ‘a’ is probe spacing and ‘R’ is the measured resistance. Varying ‘a’ provides a depth profile.
Interpretation of Results and Compliance with Industry Standards
The measured earth resistance value must be evaluated against design specifications and regulatory requirements. For electrical and electronic equipment safety standards (e.g., IEC 60601-1 for medical devices, IEC 60950 for IT equipment), maximum allowable touch voltage limits often translate to a required earth resistance, typically below 1Ω for large installations or 10Ω for residential services per the NEC. In aerospace and aviation components facilities, grounding for static discharge and EMI shielding may require resistances below 5Ω. For lightning protection systems (LPS) per IEC 62305, a combined earth resistance of often 10Ω or less is targeted. It is crucial to reference the specific standard applicable to the industry and installation. A trend of increasing resistance over successive measurements can indicate corrosion, deteriorating connections, or soil drying, signaling the need for maintenance.
Mitigation Strategies for High Earth Resistance Scenarios
When measured resistance exceeds acceptable limits, corrective actions are necessary. Common mitigation strategies include:
- Increasing Electrode Number: Installing additional rods connected in parallel, spaced at least equal to their driven length to avoid overlapping resistance areas.
- Chemical Treatment: Using ground enhancement materials (GEMs) like conductive concrete or bentonite clay around the electrode to lower local soil resistivity. This is common in rocky terrain for telecommunications equipment sites.
- Increasing Burial Depth: Driving electrodes deeper to reach more conductive, moist soil layers.
- Extending Ground Grids: For large facilities, creating an extensive buried horizontal grid to increase surface contact area with the soil.
Frequently Asked Questions (FAQ)
Q1: Can the LISUN WB2678A be used on live systems without disconnecting the ground?
A1: The WB2678A is designed with protective circuits and can perform measurements on systems with live common-mode interference. However, for a true Fall-of-Potential test on a single electrode, isolation is still required to avoid parallel path error. For non-isolated measurements, selective or stakeless methods with appropriate accessories are recommended.
Q2: How does the selectable test frequency feature improve measurement accuracy in an industrial plant?
A2: Industrial environments are saturated with 50/60Hz power frequency noise and harmonics (e.g., from variable-frequency drives in industrial control systems). By selecting a test frequency (e.g., 111Hz or 128Hz) distinct from these noise sources, the WB2678A’s filtering circuitry can effectively reject the interference, yielding a stable and accurate reading of the ground resistance signal.
Q3: What is the significance of the open-circuit voltage being limited to ≤40V AC?
A3: This voltage limit enhances operator safety during testing. More importantly, it prevents the test signal from damaging or interfering with voltage-sensitive components that may be connected to the grounding system, such as surge protective devices (SPDs) in consumer electronics or sensitive monitoring circuits in medical devices. It complies with safety standards for testing earthing in energized environments.
Q4: When measuring a large grounding grid for a data center, why might the standard 61.8% rule probe distance be insufficient?
A4: The effective electrical size of a large grid is its diagonal dimension. The current probe (C) must be placed outside the grid’s zone of influence to ensure the current field penetrates deeply into the earth. A distance of 5-10 times the grid’s diagonal may be necessary. Failure to achieve this will result in the potential probe (P) remaining within a non-linear potential gradient, making a valid 61.8% point impossible to find and producing an unreliable measurement.