


Fundamentals of Dielectric Strength Verification
The integrity of electrical insulation is a non-negotiable prerequisite for the safety, reliability, and operational longevity of virtually all electrical and electronic equipment. A dielectric withstand voltage test, commonly known as a hipot test (high potential), serves as the principal quality assurance procedure to verify this integrity. This test subjects an insulating material or component to a significantly higher voltage than its normal operating rating for a specified duration. The objective is not to stress the insulation to the point of failure under normal conditions but to confirm that it possesses a sufficient margin of safety and is free from critical flaws such as pinholes, contaminants, or inadequate creepage and clearance distances. A failure during this test, typically manifested as an abrupt leakage current surge, indicates a weakness that could lead to electric shock, fire hazard, or equipment malfunction during service.
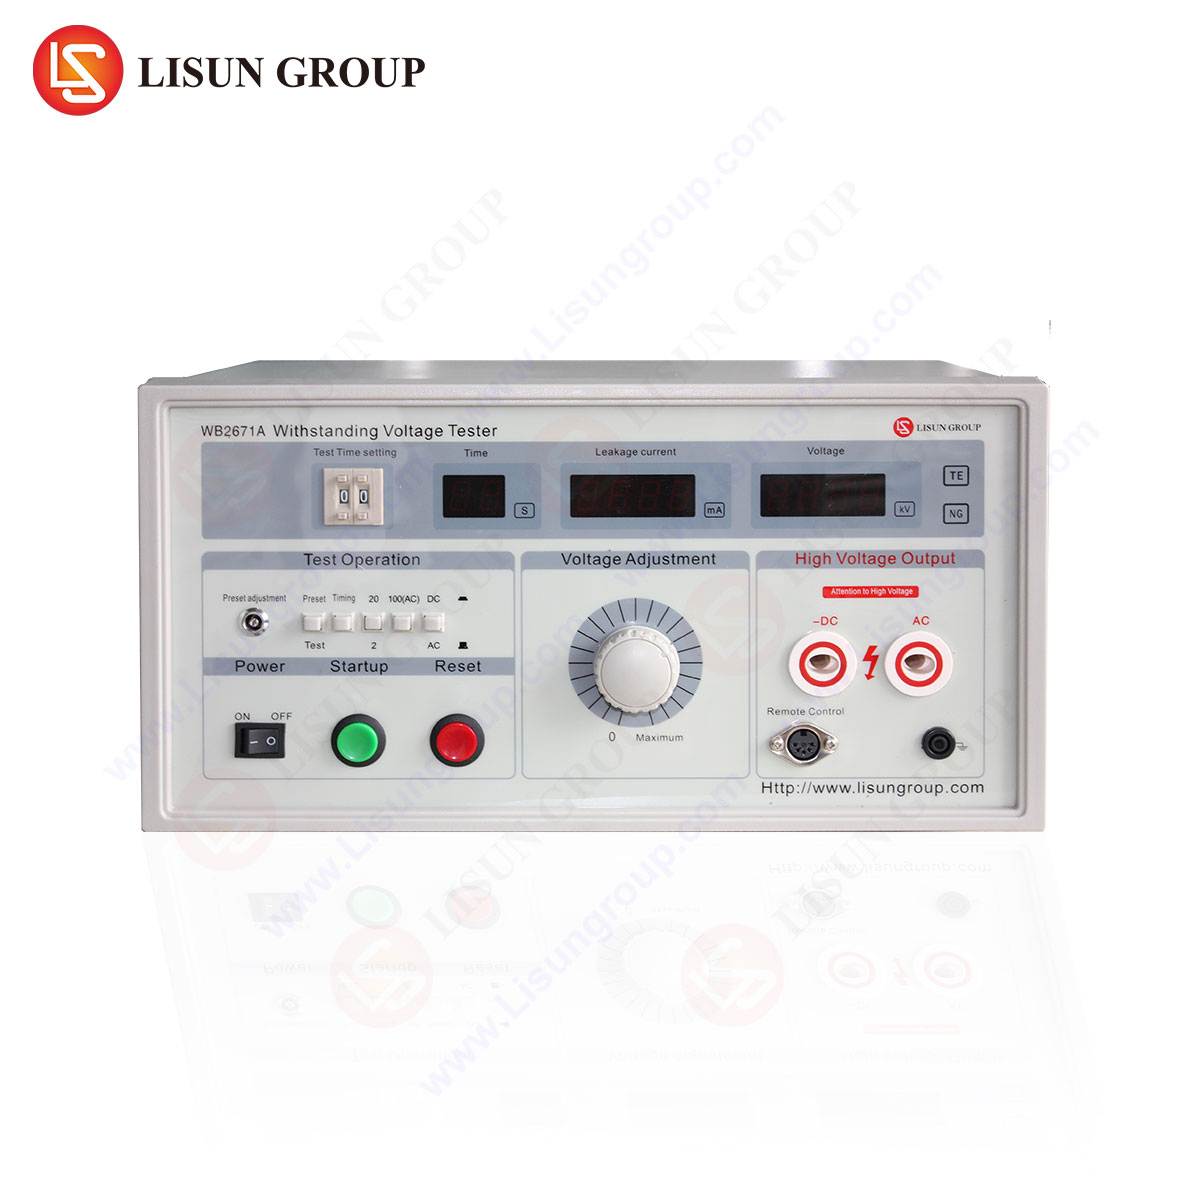
This article delineates a comprehensive, step-by-step procedure for executing a withstand voltage test, emphasizing the critical parameters, safety protocols, and interpretation of results. The methodology is aligned with international standards such as IEC 61010-1, IEC 60601-1, and UL 60950-1, which govern safety requirements for a broad spectrum of products. To provide a concrete application context, the procedure will be framed around the use of the LISUN WB2671A Withstand Voltage Tester, a sophisticated instrument designed for precision and compliance in demanding industrial environments.
Establishing the Test Prerequisites and Safety Protocol
Prior to energizing any test equipment, a meticulous preparation phase is imperative. This stage mitigates risk and ensures the validity of the acquired data. Begin by conducting a thorough review of the Device Under Test (DUT) specification sheet and the applicable safety standard. This review determines the critical test parameters: the test voltage (AC or DC), the application duration, and the allowable leakage current trip threshold. For instance, a medical-grade power supply tested to IEC 60601-1 might require a 1,500 VAC application for 60 seconds, while a basic household appliance socket per IEC 60884-1 might necessitate a 2,000 VAC test for 60 seconds.
The LISUN WB2671A is engineered to meet these diverse requirements, featuring an output voltage range of 0–5 kV AC (50/60 Hz) and 0–6 kV DC, with a voltage accuracy of ±(2%+2V). Its leakage current measurement range extends from 0.01 mA to 2.00 mA / 20.0 mA, with a precision of ±(2%+2 digits). These specifications make it suitable for testing components across the targeted industries, from automotive electronics control units to telecommunications equipment.
Safety is the paramount concern. The test area must be clearly demarcated with warning signs. The operator must be trained in high-voltage safety procedures and the use of personal protective equipment. The WB2671A incorporates several built-in safety features, including a zero-start interlock that prevents high voltage from being applied unless the output voltage is at zero, and an emergency stop button for immediate system shutdown. Before connecting the DUT, perform a preliminary verification of the tester itself using a known-good calibration device to confirm its output voltage and current measurement accuracy.
Configuration of Test Equipment and DUT Interfacing
With the prerequisites established, proceed to configure the test instrument. For the WB2671A, this involves setting the following parameters via its intuitive interface:
- Voltage: Set the desired high voltage level.
- Ramp Time: Define the time period over which the voltage will gradually increase from zero to the preset level. A controlled ramp, typically 5-10 seconds, prevents transient voltage spikes that could damage a healthy DUT.
- Dwell Time: Set the duration for which the full test voltage will be maintained.
- Leakage Current Limit: This is the critical failure threshold. If the measured leakage current exceeds this preset value, the test will automatically abort, and the unit will be flagged as a failure.
The connection of the DUT must be performed with the tester powered off. The standard connection scheme involves applying the high voltage output from the tester to all conductive parts of the DUT that are normally live (e.g., primary circuit inputs, live and neutral pins of a plug). The return lead, or ground lead from the tester, is connected to all accessible conductive parts that are meant to be grounded, including the protective earth terminal and any exposed metal casing. For double-insulated equipment (Class II), the ground lead is connected to a metal foil wrapped around the external insulating enclosure. It is crucial to ensure all connections are secure and that no loose wires are present.
Executing the Voltage Ramp and Dwell Sequence
Initiate the test sequence. The WB2671A will automatically commence the voltage ramp. During this phase, the output voltage increases smoothly from 0 V to the preset test voltage over the specified ramp time. The operator must observe the instrument’s display, which provides real-time feedback on the applied voltage and the corresponding leakage current. A stable, gradual increase in current proportional to the voltage is normal, a characteristic of capacitive charging and inherent insulation impedance.
Once the full test voltage is reached, the dwell phase begins. The instrument maintains a stable output at the specified voltage for the entire duration of the set dwell time. Constant vigilance is required during this phase. The operator should monitor for any sudden, erratic fluctuations or a steady, upward creep in the leakage current value that approaches the trip limit. The WB2671A’s arc detection circuitry is particularly valuable here, as it can identify momentary breakdowns that might not be sustained but still indicate a flaw.
Analysis of Leakage Current and Failure Modes
The interpretation of leakage current is the core of test analysis. A stable current reading well below the trip threshold throughout the dwell time signifies a PASS. The DUT’s insulation has successfully withstood the electrical stress.
A FAILURE is declared if the instrument’s over-current protection trips, terminating the test. This indicates that the leakage current has exceeded the preset limit. Physically, this can correspond to several failure modes:
- Dielectric Breakdown: A catastrophic failure where the insulation is punctured, creating a low-resistance path. This results in a massive, instantaneous current surge.
- Corona Discharge: A partial discharge within gas voids inside the insulation, which erodes the material over time. It may manifest as small, repeated current spikes.
- Surface Tracking: The formation of a conductive path across the surface of the insulation due to contamination and moisture, leading to a progressive increase in leakage current.
The WB2671A aids in diagnostics by storing test results in its memory, allowing for post-test analysis of current profiles to help distinguish between these different failure mechanisms.
Systematic Power-Down and Post-Test Discharge
Upon successful completion of the dwell time without a trip, the tester will automatically begin a power-down sequence, ramping the voltage back to zero. Even after the voltage display reads zero, a potentially lethal charge can be stored in the capacitive elements of the DUT. It is a mandatory safety step to manually discharge the DUT using a properly rated discharge rod before disconnecting any test leads. Only after confirming the DUT is fully discharged should the connections be dismantled, and the DUT be moved.
Data Logging and Compliance Documentation
For quality control and audit purposes, comprehensive documentation is essential. The LISUN WB2671A facilitates this through its data storage capabilities and optional software interface. For every test, the following data should be recorded: DUT identification, test date/time, operator ID, test parameters (voltage, time, current limit), actual maximum leakage current recorded, and final test result (Pass/Fail). This data log serves as objective evidence of compliance with safety standards and is critical for traceability in industries like medical devices and aerospace.
Industry-Specific Applications of the WB2671A Tester
The versatility of a precise withstand voltage tester like the LISUN WB2671A is demonstrated by its application across diverse sectors:
- Automotive Electronics: Testing electronic control units (ECUs), sensors, and wiring harnesses for isolation between high-voltage battery systems (in EVs) and the low-voltage vehicle chassis.
- Medical Devices: Verifying the insulation of patient-coupled parts in equipment like dialysis machines, MRI scanners, and patient monitors to IEC 60601-1, ensuring no dangerous leakage currents can reach the patient.
- Lighting Fixtures: Ensuring safety in LED drivers, ballasts, and the insulation between the AC mains and the external metal housing of luminaires.
- Aerospace and Aviation: Qualifying components for flight control systems and in-flight entertainment systems, where reliability under varying atmospheric pressures is critical.
The WB2671A’s robust design, precision, and compliance with international standards make it an indispensable tool in the validation and quality assurance processes that underpin modern electrical safety.
FAQ Section
Q1: What is the fundamental difference between performing a withstand voltage test with AC versus DC, and when should each be used?
AC testing (typically at 50/60 Hz) is the most common method as it replicates the operational stress of mains-powered equipment and is more effective at detecting flaws related to capacitance and polarization. DC testing applies a continuous stress and is often used for capacitive loads like long cables, as it draws less current and is less likely to damage components that might be sensitive to the capacitive charging current of an AC test. The choice is often dictated by the relevant product safety standard.
Q2: How is the appropriate leakage current trip limit determined for a specific Device Under Test (DUT)?
The trip limit is not arbitrary; it is derived from the safety standard applicable to the DUT. Standards like IEC 60601-1 for medical equipment specify maximum allowable patient leakage and earth leakage currents. The test limit is set to a value lower than this allowable maximum to provide a safety margin. For instance, if a standard permits a maximum of 0.5 mA leakage, the test might be performed with a trip limit of 0.25 mA to ensure compliance.
Q3: The LISUN WB2671A mentions an “arc detection” function. What does this detect, and why is it important?
Arc detection identifies brief, momentary dielectric breakdowns that may not draw enough continuous current to trigger the main over-current protection. A spark or arc across an insulation gap can carbonize the material, creating a permanent weak spot that may lead to a full breakdown later. Detecting these transient events is crucial for identifying latent defects that a simple current limit check might miss, thereby enhancing test stringency and product reliability.
Q4: Can a withstand voltage test damage a functional and safe Device Under Test?
If performed correctly according to the standard’s specified voltage and duration, a hipot test should not damage a healthy DUT. The test voltage, while high, is designed to stress the insulation without degrading it. However, incorrect procedures, such as applying an excessively high voltage, a voltage with a fast rise time (creating spikes), or repeatedly testing the same unit beyond what is stipulated, can cumulatively stress and potentially weaken the insulation.