The Evolution of Angular Measurement: Single Angle Technology in Goniophotometry
Goniophotometry represents a cornerstone of photometric and colorimetric science, providing the critical data necessary to characterize the spatial distribution of light emitted from a source. Traditional goniophotometers, while highly accurate, are often complex systems requiring significant mechanical movement, precise alignment, and extended testing durations. These factors can introduce practical challenges in high-throughput industrial environments where efficiency and reproducibility are paramount. A technological evolution addressing these challenges is the implementation of Single Angle Technology, a methodology that optimizes the measurement process for specific, standardized angular geometries. This approach streamlines data acquisition without compromising the integrity of the resultant photometric profiles, making it particularly suitable for quality control and compliance verification across a diverse range of manufacturing sectors.
Foundational Principles of Single Angle Measurement
Single Angle Technology (SAT) is predicated on the principle of targeted, fixed-angle measurement as opposed to continuous angular scanning. A conventional Type C goniophotometer rotates a photometric sensor or the light source under test (LUT) through a series of zenith (θ) and azimuth (φ) angles to construct a complete spherical luminous intensity distribution. In contrast, SAT systems are designed to perform rapid, highly accurate measurements at a single, predefined angular coordinate that is most relevant to a specific application or standard.
The underlying physics remains consistent with fundamental photometric theory, governed by the equation for luminous intensity, I(θ, φ) = dΦ / dΩ, where Φ is luminous flux and Ω is the solid angle. SAT does not alter this relationship; rather, it focuses computational and mechanical resources on acquiring the most statistically significant data point. This is achieved through a fixed, rigid optical geometry that eliminates the need for moving parts during the actual measurement cycle. The sensor and light source are positioned at the precise angle required, and a measurement is taken. This drastically reduces the potential for errors induced by mechanical wear, alignment drift, or vibrational interference that can affect systems reliant on continuous motion. The technology is not intended to replace full spatial mapping for research and development purposes but to serve as a robust, rapid, and reliable solution for production-line verification.
The AGM-500 Gloss Meter: A Paradigm of Single Angle Application
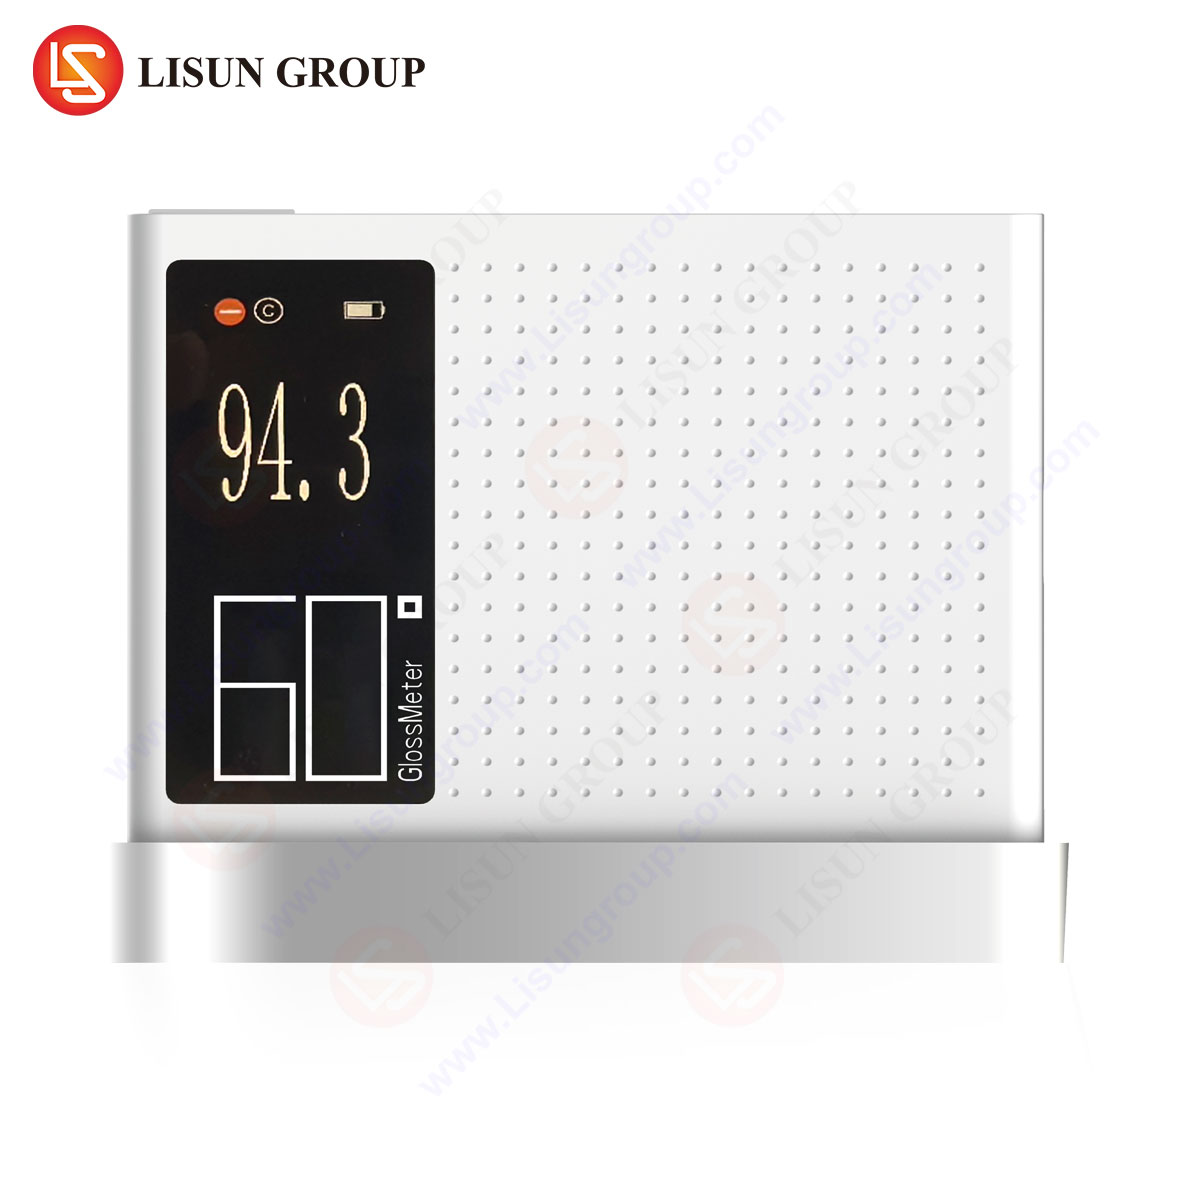
The LISUN AGM-500 Gloss Meter exemplifies the practical industrial application of Single Angle Technology. While not a goniophotometer in the traditional sense, its operational philosophy is directly analogous: it provides a highly accurate, standardized measurement of a surface’s optical property (gloss) at a fixed geometry, which is a direct function of its photometric behavior at that specific angle. The AGM-500 is engineered to assess specular gloss in accordance with international standards ISO 2813, ASTM D523, and ASTM D2457.
The instrument’s testing principle involves projecting a beam of light from its built-in source onto the test surface at a fixed, precisely controlled angle of incidence. A synchronized sensor, positioned at the mirror-reflection angle (the angle of reflection), measures the intensity of the specularly reflected light. This measured value is compared to the light reflected from a calibrated reference standard, typically a polished black glass panel with a defined refractive index, to calculate the Gloss Unit (GU). The AGM-500 is available in three primary geometries, each targeting specific gloss ranges and industry applications: 20° for high-gloss surfaces (e.g., automotive paints, glossy plastics), 60° for intermediate-gloss surfaces (general purpose use), and 85° for low-gloss or matte surfaces (e.g., coatings, textiles).
Key specifications of the AGM-500 include:
- Measuring Angles: 20°, 60°, 85°.
- Measuring Range: 0-1000 GU (angle-dependent).
- Measuring Spot Size: 2x4mm (20°), 5×9.5mm (60°), 5x38mm (85°).
- Accuracy: ≤1.0 GU (for standards up to 100 GU); ≤1.5% (for standards over 100 GU).
- Repeatability: ≤0.5 GU (for standards up to 100 GU); ≤0.5% (for standards over 100 GU).
- Inter-instrument Agreement: ≤1.5 GU (for standards up to 100 GU); ≤1.5% (for standards over 100 GU).
- Compliance: Full conformity to ISO, ASTM, and GB/T standards.
The competitive advantage of the AGM-500 lies in its embodiment of SAT principles: exceptional stability due to its fixed optical path, high repeatability achieved through precision engineering, and rapid measurement cycles ideal for production environments. Its calibration is traceable to NIST (National Institute of Standards and Technology), ensuring global recognition of its measurement data.
Industrial Applications and Compliance Verification
The utility of Single Angle Technology, as realized in instruments like the AGM-500, permeates numerous industries where surface appearance and consistent finish are critical to product quality, brand identity, and safety.
In Automotive Electronics and Components, the consistency of gloss on interior trim, control panels, and dashboard elements is vital for both aesthetic appeal and mitigating driver distraction from irregular light scattering. A switch or socket with an incorrect gloss level can appear as a visual defect. The AGM-500 provides the quantitative data needed to ensure every component batch meets stringent OEM specifications.
For Household Appliances and Consumer Electronics, surface finish is a key differentiator in the market. The gloss of a refrigerator door, smartphone casing, or television bezel must be uniform across high-volume production runs. SAT enables 100% quality inspection without creating a bottleneck, as measurements are taken in seconds.
The Lighting Fixtures industry relies on precise gloss measurements for reflectors and housing materials. The efficiency and quality of a light output can be indirectly affected by the surface properties of its components. A reflector with an improperly controlled gloss may scatter light in an undesirable manner, reducing luminaire efficacy and creating glare.
In Electrical Components such as plastic enclosures for industrial control systems or telecommunications equipment, a specified matte finish (measured at 85°) is often required to reduce glare under bright lighting conditions in control rooms or data centers, thereby improving operator readability and comfort.
Medical Device manufacturing demands extreme consistency. The gloss on a device housing can affect its perceived cleanliness and professional quality. Furthermore, for devices with optical elements or displays, controlling stray light through precise surface treatment is essential.
Aerospace and Aviation Components require coatings that meet rigorous performance and appearance standards. The AGM-500 can verify the gloss of composite panels, cockpit instrumentation, and interior surfaces to ensure they comply with aviation industry specifications, which often dictate strict visual uniformity for both cosmetic and functional reasons.
Comparative Analysis: SAT Versus Full Goniophotometry
It is crucial to delineate the operational domains of Single Angle Technology and full goniophotometry. They are complementary rather than competing technologies.
A full goniophotometer is an indispensable tool for research, development, and fundamental characterization. Its application is required when a complete luminous intensity distribution (LID) or spatial color uniformity (e.g., for SSL/TM-30 testing) must be mapped. This is necessary for designing optical systems, predicting real-world performance, and generating IES/LDT files for lighting design software. The process is inherently time-consuming, often taking minutes to hours per lamp.
Single Angle Technology, as implemented in gloss meters and specialized SAT verification fixtures, is designed for quality assurance and control. Its purpose is to answer a binary question: does the product’s performance at this specific, critical angle fall within the accepted tolerance? The measurement is completed in seconds. For instance, while a goniophotometer would map the entire bidirectional reflectance distribution function (BRDF) of a painted panel, an AGM-500 gloss meter simply and efficiently verifies that its 60° gloss value is 80±5 GU, as per the production order. The advantage is unequivocal in terms of speed, cost of ownership, and operational simplicity on the factory floor.
Standards, Traceability, and Measurement Integrity
The validity of Single Angle Technology is cemented by its strict adherence to international standards. The methodologies prescribed by ISO and ASTM define the exact geometric conditions (20°, 60°, 85°), the characteristics of the source, and the properties of the reference standard. This standardization ensures that a gloss value measured in a factory in one part of the world is directly comparable to a measurement taken elsewhere.
Instruments like the AGM-500 are not merely “designed to” these standards; they are engineered to ensure ongoing compliance. Features such as automatic temperature compensation, robust calibration management, and high inter-instrument agreement are critical for maintaining traceability to national metrology institutes. This metrological rigor transforms a simple gloss reading into a defensible data point for supplier contracts, regulatory submissions, and quality audits. In industries governed by standards such as ISO 9001, the ability to generate consistent, auditable data is as important as the data itself.
Conclusion
Single Angle Technology represents a significant optimization of optical measurement for industrial application. By focusing on specific, standardized geometries, it delivers the speed, robustness, and reproducibility required for modern manufacturing processes without sacrificing scientific accuracy. The LISUN AGM-500 Gloss Meter stands as a prime example of this philosophy, providing industries ranging from automotive to aerospace with a reliable, standards-compliant tool for quantifying surface appearance. It fulfills a critical niche in the metrological ecosystem, enabling efficient quality control that complements the deeper analytical capabilities of full goniophotometric systems. As manufacturing tolerances tighten and the demand for perfect product aesthetics grows, the role of precise, rapid, single-angle measurement will only become more profoundly integral to production workflows worldwide.
Frequently Asked Questions (FAQ)
Q1: Can the AGM-500 Gloss Meter be used to measure the gloss of curved surfaces?
Yes, the AGM-500 can measure curved surfaces provided that the measurement area (the spot size defined by the selected angle’s aperture) can be placed flatly and completely onto the surface of the test piece. For small or highly complex curvatures, a smaller spot size geometry (like the 20° angle) may be required to ensure the sensor makes proper contact with the test area.
Q2: How often does the AGM-500 require calibration, and what is the process?
Calibration frequency depends on usage intensity and required precision but is generally recommended annually or per a strict quality control schedule. The process involves measuring a calibrated reference standard plate supplied with the instrument. The AGM-500 features a built-in calibration mode where the user measures the standard, and the device automatically adjusts its internal coefficients to maintain traceability to NIST.
Q3: What is the significance of having three measurement angles (20°, 60°, 85°)?
The different angles are optimized for different gloss ranges to maximize measurement resolution and accuracy. The 20° angle is for high-gloss surfaces (e.g., >70 GU) as it provides the best differentiation between very shiny materials. The 60° angle is a general-purpose geometry. The 85° angle is used for low-gloss/matte surfaces (e.g., <30 GU) to enhance sensitivity to slight variations in diffuse reflectance that would be indistinguishable at a shallower angle.
Q4: Is the gloss value measured by the AGM-500 applicable for evaluating color?
No, gloss and color are distinct optical properties. Gloss is a measure of how specularly (mirror-like) a surface reflects light, while color is a function of which wavelengths of light are diffusely reflected or absorbed. A high-gloss black surface and a high-gloss white surface can have identical gloss values but completely different colors. The AGM-500 measures only the intensity of reflected light, not its spectral composition.
Q5: How does environmental light affect the measurement accuracy of the AGM-500?
The AGM-500 is designed to mitigate the effect of ambient light through its integrated design where the source and sensor are housed in a single, stable enclosure that is placed directly on the sample. This effectively shields the measurement area from most ambient light interference during the brief measurement period. For optimal results, it is still advised to perform measurements in a stable indoor environment away from direct, bright sunlight or extremely bright artificial lights.


