The Fundamental Principles of Gloss Measurement in Industrial Quality Control
Gloss, as a perceptual attribute, represents the visual appearance of a surface resulting from its interaction with incident light. Quantifying this subjective visual experience into an objective, repeatable, and standardized metric is a critical requirement across numerous manufacturing sectors. Gloss meter technology provides the scientific and metrological foundation for this quantification, enabling precise control over aesthetic and functional surface properties. The measurement of gloss is not merely a matter of aesthetics; it is intrinsically linked to product quality, consistency, brand identity, and, in many cases, functional performance. A deviation in gloss can indicate underlying issues in material formulation, coating application, curing processes, or post-production handling, making it a key indicator in quality assurance protocols.
The necessity for rigorous gloss control is evident in industries where surface finish impacts both consumer perception and technical performance. For instance, in automotive electronics, the gloss of a control panel must be uniform to meet design specifications and avoid distracting reflections. For medical devices, a specific gloss level might be required to facilitate cleaning and sterilization or to provide a specific tactile and visual user experience. The telecommunications equipment sector relies on consistent gloss for bezels and housings to maintain a premium brand image. Therefore, the technology underlying gloss measurement is a cornerstone of modern industrial quality systems.
The Photometric Foundation of Specular Reflection
At its core, gloss measurement is a comparative photometric technique based on the principle of specular reflection. When a beam of light strikes a surface, it is reflected in two primary ways: specularly (mirror-like) and diffusely (scattered). The ratio of the light reflected specularly to the amount of light incident upon the surface defines its glossiness. A perfectly polished mirror reflects almost all light specularly at the equal and opposite angle, representing the theoretical maximum gloss. A perfectly matte surface, conversely, reflects light entirely diffusely, scattering it in all directions.
A gloss meter operationalizes this principle by projecting a collimated beam of light onto the test surface at a fixed, predetermined angle. A precision photodetector, positioned at the mirror-reflected angle, measures the intensity of the specularly reflected light. This measured intensity is then compared to the intensity reflected from a calibrated reference standard, typically a highly polished, plane black glass surface with a defined refractive index. This reference is assigned a gloss unit value, often 100 for the specified geometry. The gloss value of the sample under test is then calculated as a percentage of the light reflected from the standard. This result is expressed in Gloss Units (GU), a dimensionless value.
The choice of measurement geometry—the angle of incidence and detection—is paramount and is standardized by international norms such as ASTM D523 and ISO 2813. Three primary geometries are employed:
- 20° (High Gloss): Used for surfaces expected to have a high gloss rating (typically above 70 GU). This shallow angle is highly sensitive to differences between high-gloss surfaces.
- 60° (Universal Gloss): The most common geometry, used for a wide range of gloss levels, from semi-gloss to mid-range high gloss. It serves as the default angle for many quality control applications.
- 85° (Low Gloss): Employed for measuring matte or low-gloss surfaces. This grazing angle increases the measurement sensitivity for surfaces that predominantly exhibit diffuse reflection.
For very high-gloss surfaces, some standards also define a 45° geometry, though it is less common than the aforementioned three. The selection of the correct geometry is critical; using a 60° meter on a very high-gloss surface may yield a saturated, non-linear reading, while using it on a very matte surface may provide insufficient signal-to-noise ratio for accurate measurement.
Instrument Design and Electro-Optical Components
A modern gloss meter is a sophisticated electro-optical instrument whose accuracy is contingent upon the precision and stability of its internal components. The essential subsystems include a stable light source, a collimating lens system, an aperture defining the beam geometry, the sample presentation stage, a collecting optical system, a photodetector, and the signal processing electronics.
The light source must provide consistent spectral output and intensity over time. Historically, tungsten filament lamps were used, but modern instruments like the LISUN AGM-500 utilize light-emitting diodes (LEDs). LEDs offer significant advantages, including long life, low heat generation, rapid stabilization, and consistent output, which minimizes drift and enhances measurement reliability. The light is passed through a lens to create a parallel, collimated beam, ensuring a consistent angle of incidence across the entire measurement spot.
The photodetector, typically a silicon photodiode, must possess a spectral response that closely matches the CIE standard photopic luminosity function (V(λ)), which represents the sensitivity of the human eye. This ensures that the instrument’s readings correlate with visual perception. The detector’s output, a small photocurrent, is converted to a voltage, amplified, and processed by a microcontroller. Advanced instruments incorporate temperature sensors and reference channels to compensate for potential drift in the light source or detector, ensuring data integrity over extended periods and across varying environmental conditions.
The LISUN AGM-500: A Paradigm of Modern Gloss Metrology
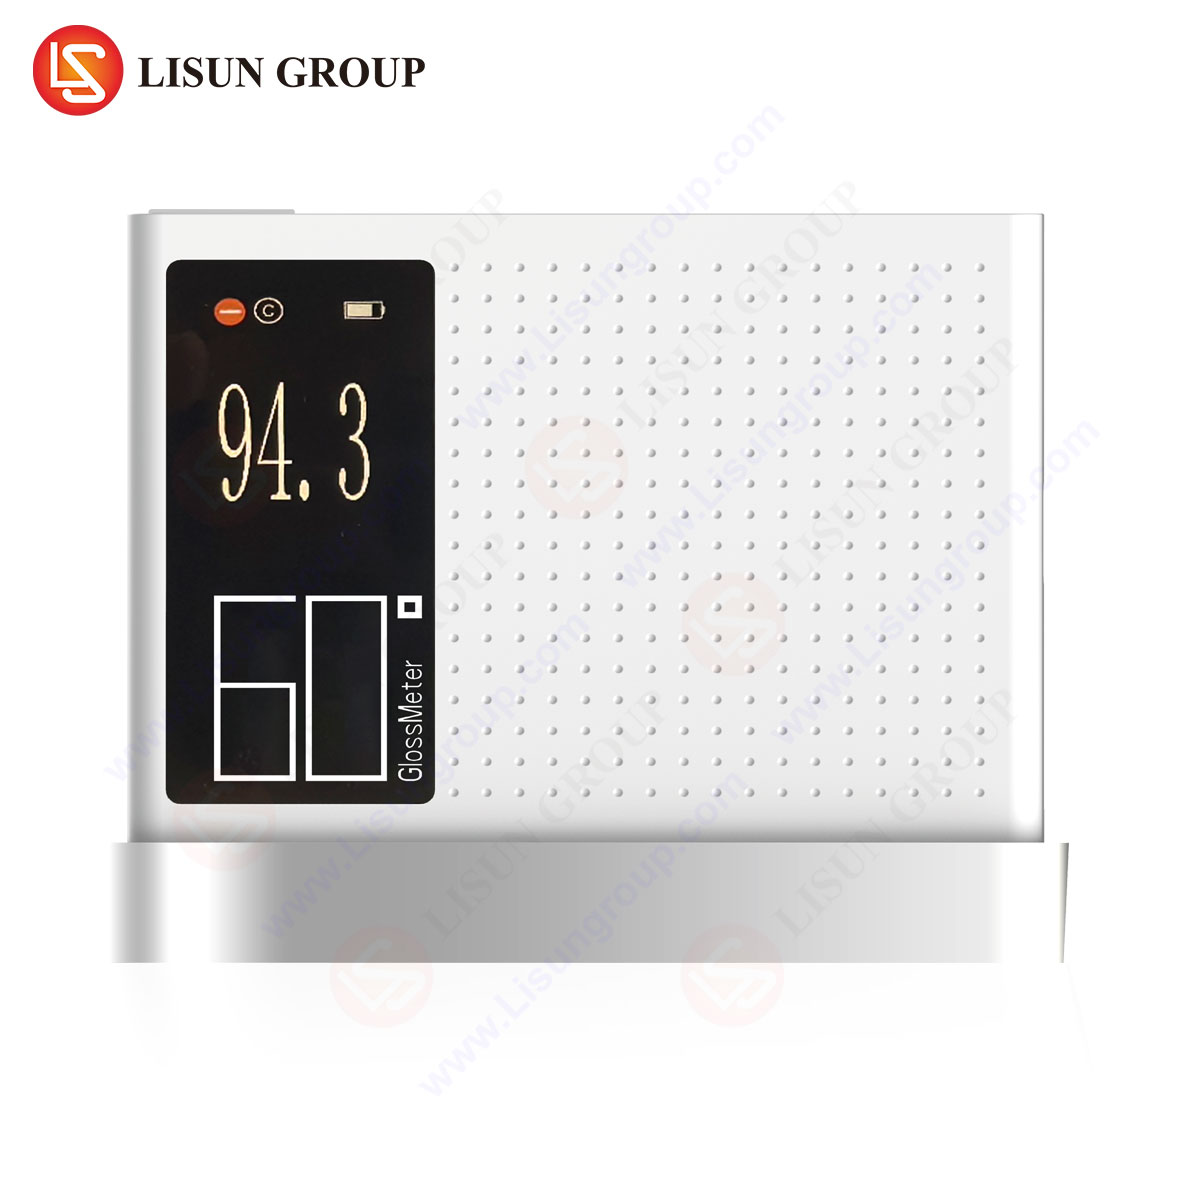
The LISUN AGM-500 Gloss Meter exemplifies the application of these core principles in a robust, industry-ready instrument. Designed to comply with ISO 2813, ASTM D523, and other national standards, it is engineered for high accuracy and operational simplicity in demanding industrial environments.
The AGM-500 incorporates a high-intensity, long-life LED light source and a precision silicon cell photodetector, ensuring stable and repeatable measurements. A key feature is its multi-angle capability, housing all three primary geometries (20°, 60°, and 85°) within a single unit. This eliminates the need for multiple devices and allows operators to instantly select the appropriate angle for the material being tested, as dictated by internal quality procedures or industry standards. The device is calibrated against a traceable reference standard to guarantee metrological integrity.
Key Specifications of the LISUN AGM-500:
- Measurement Angles: 20°, 60°, 85°
- Measuring Range: 0-2000 GU (across all angles)
- Measuring Spot Size: 20°: 10x10mm; 60°: 9x15mm; 85°: 5x38mm
- Division Value: 0.1 GU
- Accuracy: ±1.5 GU (for standards up to 200 GU); ±2.5% (for standards above 200 GU)
- Light Source: LED, 5V, 50/60Hz
- Detector: Silicon Photocell
- Standards Compliance: ISO 2813, ASTM D523, GB/T 9754
The device’s design includes a compact, ergonomic housing and a large LCD display for clear reading of results. Data logging and statistical analysis capabilities allow for the storage of large datasets, enabling trend analysis and comprehensive quality reporting. This is particularly valuable for auditing and process control purposes.
Industry-Specific Applications and Use Cases
The application of gloss meter technology spans a vast array of industries where surface quality is paramount.
In Automotive Electronics and Consumer Electronics, the gloss of plastic housings, touchscreen bezels, and control panels is critical for aesthetic harmony and user experience. A console in a vehicle must have a consistent gloss across all components to avoid visual defects. The AGM-500 can verify that injection-molded parts from different batches or suppliers meet the OEM’s exacting specifications.
For Household Appliances, the finish on refrigerator doors, oven controls, or washing machine panels contributes significantly to the perceived quality of the product. Manufacturers use gloss meters to ensure that coated metals and plastics maintain a consistent appearance, which is a key brand identifier.
The Lighting Fixtures industry utilizes gloss measurement on reflectors and housing components. The gloss of a reflector can impact the efficiency and quality of light distribution. A high-gloss, specular finish is often required to maximize light output, and this must be consistently controlled during anodizing or polishing processes.
In Medical Devices, surfaces must not only meet visual standards but also functional ones. A specific gloss level may be required to resist fingerprint smudging, facilitate easy cleaning to meet hygiene protocols, or provide a specific tactile feel for user interface components. The AGM-500 provides the quantitative data needed to validate these parameters.
Aerospace and Aviation Components require stringent quality control. The gloss of composite panels, cockpit interiors, and even exterior markings must be documented and controlled for both aesthetic and functional reasons, such as reducing glare for pilots. The portability and accuracy of a device like the AGM-500 make it suitable for both production line and hangar-floor inspections.
Electrical Components such as switches, sockets, and wiring system conduits often have specified gloss levels for their plastic or coated surfaces. This ensures a uniform appearance in residential, commercial, and industrial installations. Gloss measurement provides a pass/fail criterion for incoming quality inspection (IQI) of these components.
Competitive Advantages of Integrated Multi-Angle Systems
The integration of all three standard geometries into a single instrument, as seen with the LISUN AGM-500, presents several distinct advantages over traditional single-angle meters. It drastically reduces equipment costs and simplifies the calibration and maintenance schedule, as only one device requires management instead of three. It enhances operational efficiency on the production floor; an operator does not need to locate and switch between different tools, minimizing measurement time and reducing the potential for error. This integrated approach is particularly beneficial for manufacturing facilities that produce a wide range of products with varying gloss levels, from matte-finished industrial control systems to high-gloss consumer electronics.
Furthermore, the design and construction of the instrument, including its robust calibration system and stable LED light source, ensure long-term measurement stability and reproducibility. This reliability is essential for trend analysis and for ensuring that quality data collected over months or years remains consistent and trustworthy, a critical factor for ISO-compliant quality management systems.
FAQ
Q1: Why are multiple measurement angles (20°, 60°, 85°) necessary?
Different angles provide varying levels of sensitivity to different gloss ranges. A 20° angle is optimal for distinguishing between high-gloss surfaces, a 60° angle is a good general-purpose setting, and an 85° angle is best for quantifying low-gloss, matte finishes. Using the wrong angle can lead to inaccurate or non-differentiating readings.
Q2: How often does a gloss meter like the AGM-500 require calibration?
Calibration frequency depends on usage intensity and the required level of metrological assurance. For most quality control environments, an annual calibration against a traceable standard is recommended. However, it is good practice to regularly verify calibration using the provided master calibration tile, especially if the instrument is used frequently or subjected to harsh conditions.
Q3: Can surface curvature affect gloss measurement readings?
Yes, significantly. Standard gloss meters are designed for flat, planar surfaces. Measuring on a curved surface can distort the geometry of the incident and reflected beams, leading to erroneous readings. For curved parts, it is essential to ensure the instrument’s aperture is placed on a sufficiently flat section of the sample, or to use a specialized jig to present the curved surface correctly. Interpretation of results for curved samples should be done with caution.
Q4: What are the best practices for ensuring consistent gloss measurements?
Consistency is achieved by controlling several factors: always clean the sample surface and the instrument’s calibration tile; ensure the measurement surface is flat and properly presented to the aperture; maintain a consistent pressure when placing the meter on the sample; perform regular calibration checks; and document the environmental conditions (temperature, humidity) if they vary greatly, as they can affect some materials.
Q5: Is a high gloss unit (GU) value always desirable?
Not necessarily. The desired gloss level is entirely dependent on the product’s design and functional requirements. A matte finish (low GU) is often preferred for automotive dashboards to reduce glare, while a high-gloss finish is desired for a piano black electronic device bezel. The key metric is consistency and conformance to the specified target value, not merely achieving the highest possible number.


