The Evolution of Surface Gloss Quantification in Industrial Quality Control
The quantification of surface gloss represents a critical parameter in the manufacturing and finishing processes of a vast array of industries. As a fundamental visual attribute, gloss profoundly influences consumer perception, brand identity, and product quality. Traditional visual assessment methods, reliant on human comparison to reference standards, are inherently subjective and prone to inconsistency. The advent of digital glossmeter technology has supplanted these archaic methods with objective, quantifiable, and highly repeatable measurement systems. These instruments provide a scientific basis for quality control, ensuring that products meet stringent aesthetic specifications demanded by global markets. The transition to digital glossmetry is not merely an incremental improvement but a paradigm shift towards data-driven manufacturing excellence, enabling precise conformity to international standards such as ASTM D523 and ISO 2813.
Fundamental Principles of Gloss Measurement
Gloss is formally defined as the attribute of a surface that causes it to have a shiny or lustrous appearance. This optical property is a consequence of the surface’s ability to directionally reflect incident light. The measurement principle of a glossmeter is based on this specular reflection. A calibrated light source emits a beam of light at a fixed, standardized angle of incidence onto the test surface. A precision photodetector, positioned at the mirror-reflection angle, collects the reflected light. The intensity of this reflected beam is compared to the intensity of light reflected from a reference standard, typically a highly polished, plane black glass surface with a defined refractive index, which is assigned a gloss value of 100 at a given geometry. The gloss value (GU – Gloss Units) of the sample under test is then calculated as a percentage of this reference value.
The selection of the measurement angle—20°, 60°, or 85°—is dictated by the anticipated gloss level of the material. High-gloss surfaces, such as automotive clear coats or high-gloss appliance finishes, are best measured at 20° to maximize differentiation between high values. Medium-gloss surfaces are measured at the universal 60° angle. Low-gloss and matte surfaces, including many plastic enclosures and matte-finish paints, require the 85° geometry (grazing angle) to enhance measurement sensitivity. Advanced digital glossmeters are often equipped with multi-angle measurement capabilities to accommodate this full spectrum of surface finishes automatically.
Architectural Design of a Modern Digital Glossmeter
The core architecture of a precision digital glossmeter integrates several sophisticated optical and electronic subsystems into a robust, ergonomic housing. The light source is typically a long-life, stable light-emitting diode (LED) with a spectral quality that conforms to CIE illuminant C requirements. This light is collimated and directed onto the target surface through a series of precision lenses and apertures that define the required geometric cone of illumination. The reflected light is gathered by a corresponding receptor optical system, which is spectrally compensated to match the CIE standard photopic observer (V(λ)) response.
The photodetector converts the luminous flux into an electrical signal, which is then processed by a high-resolution analog-to-digital converter. An integrated microprocessor executes the necessary algorithms to calculate the gloss value, manage measurement modes, and handle data. The entire optical path is sealed within a rigid body to prevent contamination from dust and oils, which could adversely affect measurement accuracy. The external housing is designed for both laboratory use and the rigors of the production floor, often constructed from durable materials that are resistant to environmental factors and physical impact. The measurement aperture is engineered to ensure consistent, repeatable contact pressure with the sample surface, mitigating the influence of operator technique on results.
Introducing the LISUN AGM-500 Multi-Angle Gloss Meter
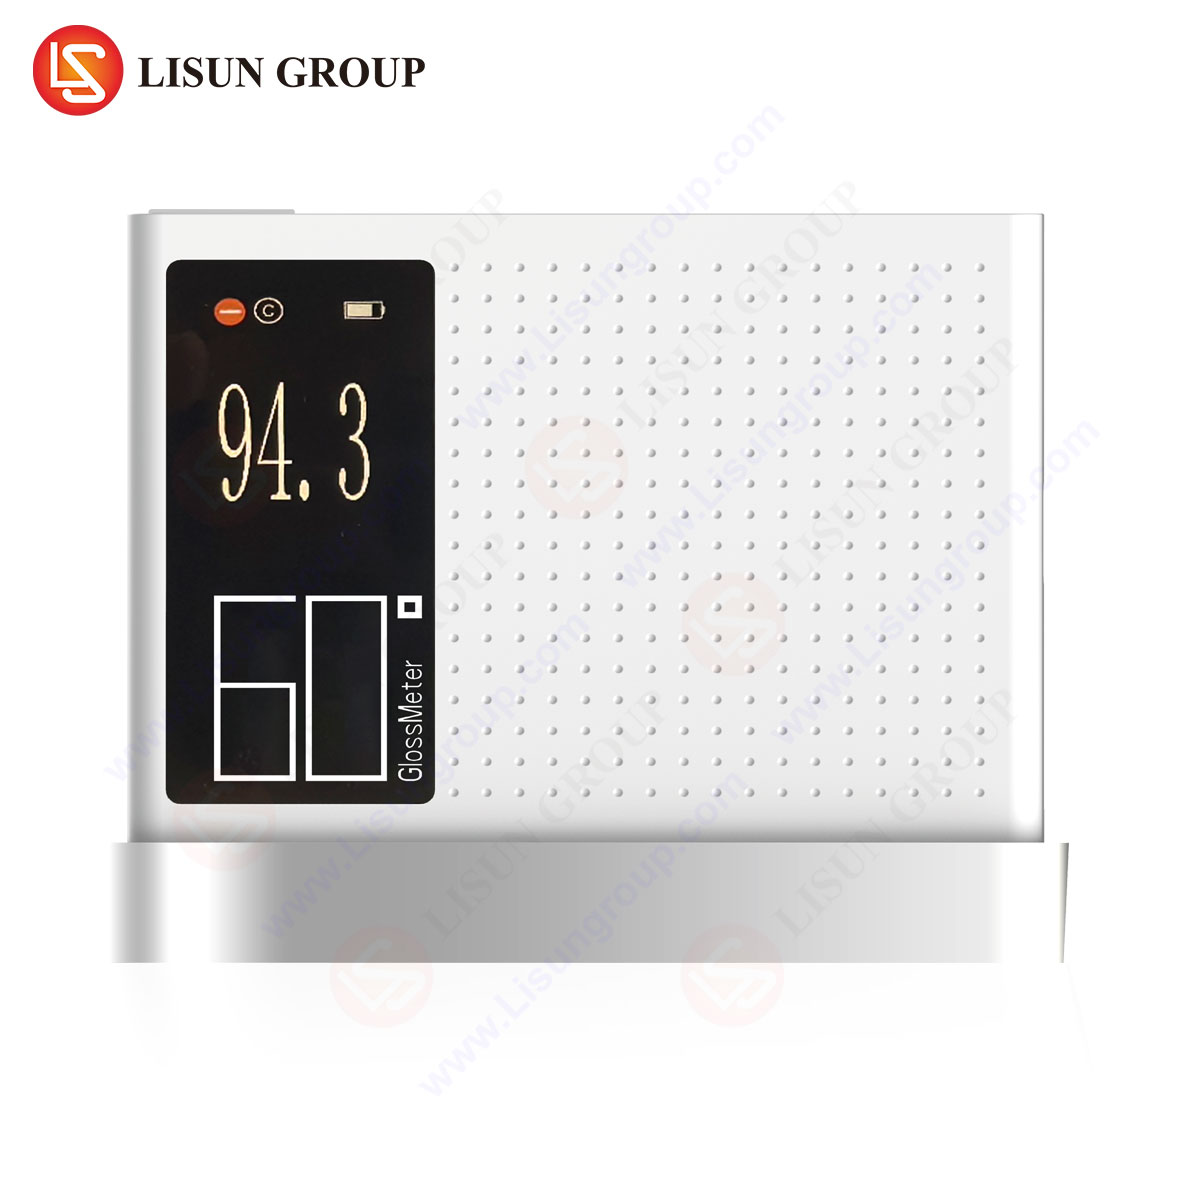
The LISUN AGM-500 represents a state-of-the-art implementation of digital glossmeter technology, engineered for metrological precision and operational simplicity across diverse industrial applications. This multi-angle instrument is designed to provide reliable and accurate gloss measurements for quality assurance professionals in laboratory and production environments.
Key Specifications:
- Measurement Angles: 20°, 60°, and 85°.
- Measuring Range: 0.0 to 2000.0 GU (angle-dependent).
- Measuring Spot Size: 20°: 10x10mm; 60°: 9x15mm; 85°: 5x38mm.
- Division Value: 0.1 GU.
- Accuracy: ±1.0 GU for readings under 100 GU; ±1% for readings over 100 GU.
- Standards Compliance: Conforms to ISO 2813, ASTM D523, ASTM D2457, and other national standards.
- Data Management: Features a statistical function for calculating average, maximum, and minimum values, and can store up to 999 groups of measurement data.
- Interface: USB connectivity for data transfer to PC software for advanced analysis and reporting.
- Calibration: Automatic calibration to a built-in reference standard.
The device’s operating principle adheres strictly to the fundamental optical geometry described previously. Its internal software is programmed to automatically select the optimal measurement angle based on a preliminary reading at 60°, or it allows for manual angle selection by the operator for specific application needs.
Industry-Specific Applications and Use Cases
The objective data provided by instruments like the AGM-500 is indispensable for maintaining aesthetic consistency and quality in numerous sectors.
Automotive Electronics and Components: The interior and exterior of a modern vehicle are replete with components requiring precise gloss matching. From the high-gloss piano black finishes on infotainment systems and dashboard trim to the matte textures on control knobs and vent surrounds, the AGM-500 ensures that all parts, whether sourced from different suppliers or produced in-house, conform to the OEM’s exact specifications. This prevents mismatched components from being assembled, which would be immediately apparent to the consumer and degrade the perceived quality of the vehicle.
Household Appliances and Consumer Electronics: A brand’s identity is often tied to a specific aesthetic. The consistent gloss level across a range of products—refrigerators, washing machines, televisions, smartphones, and laptops—is critical. A glossmeter is used to verify the finish on plastic injection-molded casings, painted metal panels, and glass or composite materials. For instance, a matte finish on a premium laptop must be uniform across the lid, base, and keyboard deck, a feat only achievable through rigorous incoming and outgoing quality control (IQC/OQC) using digital glossmetry.
Lighting Fixtures and Telecommunications Equipment: The housings and reflectors for indoor and outdoor lighting fixtures must meet specific gloss criteria. A high-gloss reflector maximizes light output efficiency, while a matte or low-gloss housing minimizes unwanted light scattering and glare. Similarly, the casings for routers, base stations, and other telecom equipment must maintain a consistent appearance to project an image of reliability and quality. The AGM-500’s multi-angle capability is essential for characterizing these diverse surfaces accurately.
Aerospace and Aviation Components: While often focused on functional performance, the interior cabin components of aircraft—overhead bins, side panels, seating—are subject to strict aesthetic controls. These components may be fabricated from composites, plastics, or painted metals, and must exhibit a uniform, non-reflective finish to reduce pilot and passenger fatigue. Gloss measurement ensures these materials meet the required specifications before installation.
Medical Devices and Electrical Components: The housings for medical devices, from handheld diagnostics to large imaging equipment, require finishes that are not only visually consistent but also easy to clean and resistant to chemicals. Gloss measurement is part of the validation process for these surface treatments. For electrical components like switches and sockets, a consistent gloss level across a product line is a marker of quality, ensuring that a light switch purchased separately will match others already installed in a home or office.
Competitive Advantages of High-Precision Digital Glossmeters
The shift to advanced digital instruments like the AGM-500 confers several distinct advantages over older methods or less capable devices. The primary advantage is the elimination of subjectivity. Human evaluation is influenced by lighting conditions, observer fatigue, and individual perception. A digital glossmeter provides an absolute, numerical value that is fully reproducible across time and location. This objectivity is the foundation for unambiguous quality standards and specifications between suppliers and manufacturers.
The high repeatability and reproducibility (R&R) of these instruments significantly reduce measurement uncertainty. This is critical for conducting statistical process control (SPC), where subtle trends in gloss data can signal drifts in the manufacturing process—such as changes in paint viscosity, curing temperature, or mold polish—allowing for corrective action before non-conforming products are produced. The integrated data logging and statistical functions streamline the quality documentation process, providing auditable records for compliance with ISO 9001 and other quality management systems. Furthermore, the ergonomic design and intuitive operation minimize operator training time and reduce the potential for measurement error, thereby increasing overall inspection throughput and efficiency on the production line.
Calibration, Standards, and Measurement Best Practices
To ensure long-term accuracy, a digital glossmeter must be regularly calibrated using traceable reference standards. The built-in calibration feature of devices like the AGM-500 simplifies this process, but the master calibration tile must itself be handled with extreme care to prevent scratching or contamination. Best practices for measurement include ensuring the measurement aperture is clean and free of debris. The sample surface must also be clean and dry. The instrument must be placed firmly and squarely on the sample to prevent any external light from entering the optical path. It is also critical to ensure the sample is perfectly flat and placed on a rigid surface; measuring on a flexible or curved surface can lead to poor contact and erroneous readings. For textured or slightly curved surfaces, specialized adapters or a greater number of measurements for averaging may be required. Environmental factors, while generally less critical than in other forms of metrology, should still be considered; extreme temperatures or condensation should be avoided.
Frequently Asked Questions (FAQ)
Q1: How often should the LISUN AGM-500 be calibrated?
For most quality control environments, an annual calibration by an accredited laboratory is recommended to maintain traceability to national standards. However, the internal self-calibration function should be performed before each use or each series of measurements to compensate for any short-term drift, ensuring daily accuracy. The frequency of formal calibration may increase based on usage intensity and internal quality procedures.
Q2: Can the AGM-500 accurately measure gloss on curved surfaces?
The instrument is designed for optimal accuracy on flat, rigid surfaces. While it can be used on large-radius curves, the aperture must make complete and flush contact with the surface to prevent light leakage. For small or complex curves, the reading may be less accurate. In such cases, taking multiple readings at different orientations and calculating an average value can provide a useful comparative result, though it may not strictly conform to the standard geometric conditions.
Q3: What is the significance of the different measurement angles (20°, 60°, 85°)?
The angle determines the sensitivity of the measurement to different gloss levels. The 20° angle compresses the scale for high-gloss surfaces, providing better differentiation between values above 70 GU. The 60° angle is a general-purpose geometry. The 85° angle stretches the scale for low-gloss and matte surfaces, providing enhanced resolution for values below 10 GU. The AGM-500’s auto-angle function simplifies this by recommending the correct angle.
Q4: How does surface texture or orange peel affect gloss measurement?
Glossmeters measure specular reflection, while texture influences distinctness of image (DOI). While related, they are distinct properties. A surface with significant orange peel may still have a high gloss value because the overall amount of light reflected specularly remains high, but the image clarity will be poor. Glossmeters are not designed to measure DOI; that requires a different instrument, such as a wave-scan DOI meter.
Q5: Can the device be used to measure the gloss of metallic or pearlescent paints?
Standard glossmeters like the AGM-500 measure specular gloss, which is a key attribute of these finishes. However, metallic and pearlescent paints exhibit visual characteristics like flake orientation and travelness that are not fully captured by a standard gloss measurement. For a complete characterization of these effect finishes, a multi-angle spectrophotometer or a dedicated multi-angle glossmeter is typically employed to measure gloss and color at several aspecular angles.


