An Analytical Framework for Gloss Meter Selection in Precision Manufacturing
The quantification of surface appearance, specifically gloss, is a critical quality control parameter across a vast spectrum of manufacturing industries. Gloss, defined as the visual impression of a surface when it reflects light in a specular direction, is not merely an aesthetic attribute; it serves as a key indicator of surface integrity, coating consistency, and final product quality. Inconsistent gloss levels can signal underlying issues such as improper curing, contamination, uneven application, or material degradation. Consequently, the selection of an appropriate gloss meter—a precision photoelectric instrument designed to measure this property—is a decision of significant technical and commercial importance. This guide provides a structured, analytical framework for selecting a gloss meter, with a specific focus on the technical considerations pertinent to industries including automotive electronics, medical devices, and consumer electronics, and examines the LISUN AGM-500 Gloss Meter as a representative high-performance instrument.
Fundamental Principles of Gloss Measurement
Gloss measurement is governed by the principle of specular reflection. An optical device, the gloss meter, projects a beam of light onto a test surface at a fixed, standardized angle of incidence. A precision photodetector, positioned at the mirror-reflected angle (the angle of reflection), collects the reflected light intensity. The meter then calculates a gloss value (Gloss Units, GU) by comparing the measured reflectance from the sample to that from a calibrated reference standard, typically a highly polished black glass tile with a defined refractive index assigned a gloss value of 100 GU for that specific geometry.
The selection of the measurement angle is paramount and is dictated by the anticipated gloss range of the sample. International standards, primarily ASTM D523 and ISO 2813, define three primary geometries:
- 20° (High Gloss): Employed for surfaces with a high-gloss finish (typically >70 GU). This geometry provides the highest differentiation between high-gloss surfaces. It is commonly used for applications such as automotive clear coats, high-gloss plastics, and coated papers.
- 60° (Universal Gloss): The most frequently used angle, suitable for a wide range of surfaces from semi-gloss to high-gloss. It serves as the default angle for general quality control purposes across paints, plastics, and ceramics.
- 85° (Low Gloss): Reserved for measuring low-gloss and matte surfaces (typically <10 GU at 60°). This shallow angle increases the sensitivity to subtle differences in sheen and diffuse reflection, making it ideal for matte paints, textiles, and anodized metals.
Advanced gloss meters may incorporate multi-angle measurement, automatically taking readings at two or three angles to provide a comprehensive surface characterization, which is crucial for materials whose appearance changes with the viewing perspective.
Critical Selection Criteria for Industrial Applications
The operational environment and specific requirements of an industry dictate the necessary features of a gloss meter. Key selection parameters extend beyond basic measurement geometry.
Measurement Geometry and Range: The first determinant is the gloss level of the target materials. A manufacturer of automotive interior trim, which may consist of both high-gloss piano black panels and soft-touch matte plastics, will necessitate a multi-angle instrument (20°, 60°, 85°). Conversely, a producer of uniform semi-gloss industrial control system enclosures may find a single 60° geometry sufficient. The instrument’s measurement range must comfortably exceed the expected GU values of the samples to avoid saturation and ensure accuracy.
Accuracy, Repeatability, and Inter-Instrument Agreement: Metrological performance is non-negotiable. Specifications for accuracy (closeness to the true value) and repeatability (consistency of repeated measurements on the same spot) should be scrutinized. For supply chain quality control, inter-instrument agreement is critical; units used at the raw material supplier, the manufacturing plant, and the end-client must produce correlatable results to prevent disputes. This requires stable, high-quality optics and rigorous calibration protocols.
Hardware Design and Durability: Industrial environments can be demanding. A ruggedized housing resistant to minor impacts, dust, and occasional chemical exposure is essential. The quality of the measurement aperture, which ensures consistent positioning and protects against ambient light interference, is a key differentiator. For large or fixed objects, a meter with a stable, integrated calibration tile is preferable over one with a separate, losable tile.
Data Management and Connectivity: Modern manufacturing leverages data for traceability and process optimization. Gloss meters with integrated memory, statistical calculation capabilities (avg, max, min, STD), and connectivity options (USB, Bluetooth) streamline data transfer to Laboratory Information Management Systems (LIMS) or quality management software, reducing transcription errors and improving audit efficiency.
Compliance with International Standards: The instrument must be designed and calibrated in accordance with relevant international standards (ASTM, ISO, DIN, JIS) to ensure global acceptance of measurement data.
The LISUN AGM-500: A Technical Analysis for Demanding Environments
The LISUN AGM-500 Gloss Meter exemplifies a modern instrument designed to meet the stringent requirements of advanced manufacturing sectors. Its specification sheet reveals a device engineered for metrological rigor and operational efficiency.
Technical Specifications and Design Philosophy:
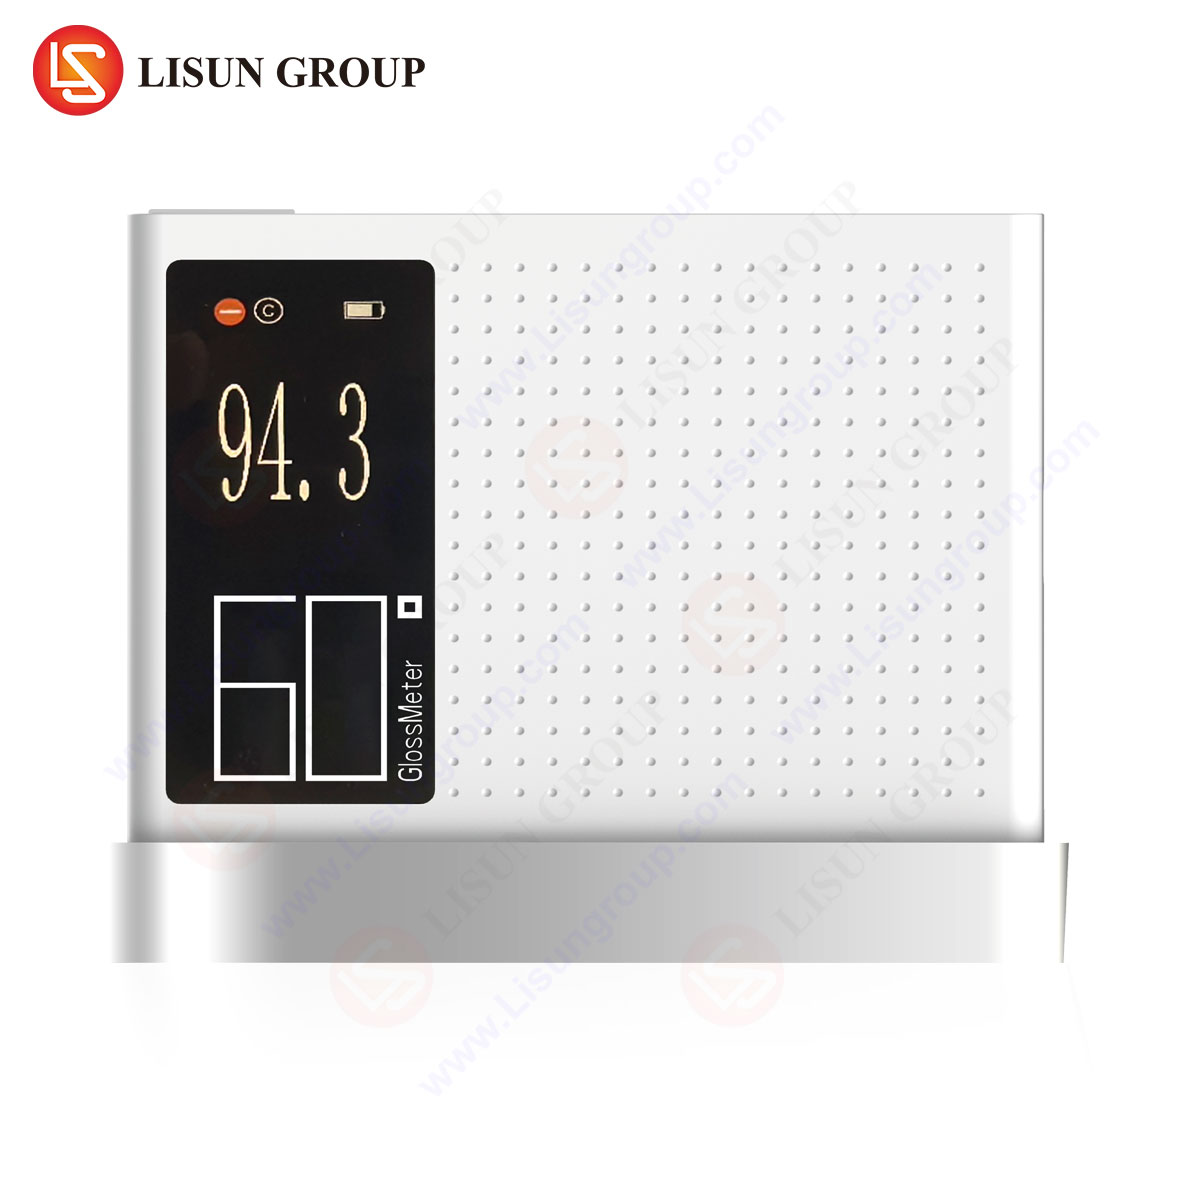
The AGM-500 is a multi-angle gloss meter (20°, 60°, 85°) with a wide measurement range (0-2000 GU for 20°, 0-1000 GU for 60°, 0-160 GU for 85°), making it applicable to virtually any surface finish. Its accuracy is specified at less than 1.5 GU, with repeatability under 0.5 GU, figures that align with high-precision quality control needs. The device features a robust aluminum-alloy housing, providing EMI shielding and physical durability crucial for plant floor use. A significant design feature is the integration of the calibration plate within a protective sliding door mechanism, ensuring the standard remains pristine and readily available. The large LCD display provides clear readouts of gloss values, statistical data, and calibration status.
Competitive Advantages in Context:
The AGM-500’s advantages become apparent when applied to specific industry challenges. In Automotive Electronics and Aerospace and Aviation Components, where a single assembly may incorporate parts from multiple suppliers, the instrument’s high inter-instrument agreement ensures that a gloss measurement taken by a component manufacturer in one country will be validated by the OEM’s quality team in another, minimizing acceptance delays. For Medical Device manufacturers, the smooth, easy-to-clean housing and durable aperture design support adherence to cleanroom protocols and frequent decontamination cycles.
In high-volume production environments for Consumer Electronics and Household Appliances, the AGM-500’s data management capabilities are critical. The ability to store thousands of measurements and export them via USB for trend analysis allows quality engineers to monitor coating process drift in near real-time, facilitating predictive maintenance of application equipment. For Lighting Fixtures and Electrical Components, the precise measurement of reflectors, diffusers, and glossy housings directly correlates to optical performance and perceived product quality, making the AGM-500’s accuracy a direct contributor to product performance validation.
Industry-Specific Application Scenarios
The application of gloss measurement is deeply integrated into the quality assurance processes of numerous technical fields.
Automotive Electronics and Interior Systems: Gloss consistency is vital for interior components like touchscreen displays, dashboard panels, and control knobs. Variations can create visual mismatches that detract from the perceived luxury and quality of a vehicle. The AGM-500 is used to validate parts from different injection molding batches or different suppliers against a master standard.
Medical Devices: Surfaces on handheld diagnostic equipment, surgical tools, and device housings require specific gloss levels for both ergonomics (reducing glare under bright surgical lights) and cleanliness. A controlled, consistent surface is easier to clean and inspect for contaminants.
Telecommunications Equipment and Office Equipment: Server racks, routers, printers, and copiers require a uniform professional appearance. Gloss meters ensure that plastic enclosures and metal panels maintain a consistent finish across production runs, which is essential for brand identity.
Cable and Wiring Systems: While the primary insulation may not be measured for gloss, the identification markings printed on cables must be durable and legible. The gloss of these printed markings can be an indicator of cure quality and abrasion resistance.
Aerospace and Aviation Components: Both interior panels and exterior non-structural components are subject to strict appearance criteria. Gloss measurement ensures that replacement parts and original components maintain a uniform appearance, which is part of the stringent quality documentation required in this industry.
Establishing a Robust Gloss Measurement Protocol
Selecting the instrument is only one component of a reliable gloss measurement process. A comprehensive protocol must be established:
- Calibration: Regular calibration using a master tile traceable to a national metrology institute is mandatory. The frequency depends on usage intensity but should be performed at least weekly in active production environments.
- Surface Preparation: The test surface must be clean, dry, and free of fingerprints, dust, or oils that could scatter light and affect the reading.
- Measurement Technique: The meter must be placed firmly and flatly on the surface to prevent light leakage. Multiple measurements should be taken across the surface to account for local variations.
- Environmental Conditions: Standard tests should be conducted under consistent temperature and humidity conditions, as extreme variations can affect both the instrument and the material surface.
FAQ Section
Q1: How often should the LISUN AGM-500 be calibrated to maintain accuracy?
For routine industrial quality control, a weekly calibration check is recommended. If the instrument is used heavily or subjected to harsh conditions, more frequent checks are advisable. Formal recalibration by an accredited lab should be performed annually to maintain traceability.
Q2: Can the AGM-500 accurately measure curved or irregular surfaces?
The measurement aperture requires firm, flush contact with a flat surface. For convex curves, measurements may be possible if the aperture can seal completely without gaps, but the data may have a higher deviation. Concave or highly irregular surfaces cannot be measured accurately with a standard gloss meter and require specialized instrumentation.
Q3: What is the significance of inter-instrument agreement, and how does the AGM-500 achieve it?
Inter-instrument agreement ensures that multiple gloss meters produce the same result for the same sample. This is critical for supply chain quality control to avoid disputes. The AGM-500 achieves this through high-quality, stable optical components, precise manufacturing tolerances, and a rigorous calibration process that references a master standard.
Q4: Does ambient light affect the gloss measurement reading?
Modern gloss meters like the AGM-500 are designed to minimize ambient light interference through the use of a contact measurement aperture that seals out external light. However, for ultimate accuracy, it is still recommended to perform measurements in a standard lighting environment away from direct, bright light sources.
Q5: How is data from the AGM-500 typically used in a production environment?
Measured gloss values are compared against pre-defined acceptance ranges. Data is logged for statistical process control (SPC) charts to monitor production trends. Deviations can trigger alerts for process adjustments, such as modifying coating parameters, cleaning application equipment, or checking raw material batches.


