The Role of Surface Gloss in Material Performance and Aesthetics
Surface gloss is not merely an aesthetic attribute; it is a quantifiable optical property that profoundly influences product perception, functionality, and quality control across a multitude of industries. Defined as the visual impression resulting from the evaluation of the specular reflection characteristics of a surface, gloss is a critical parameter that can indicate surface uniformity, coating integrity, and manufacturing consistency. In sectors ranging from automotive electronics to medical devices, the precise measurement and control of gloss are integral to ensuring that components meet stringent technical specifications and consumer expectations. Variations in gloss can signal underlying issues such as improper curing, surface contamination, or wear, making its accurate assessment a vital component of the production and inspection workflow.
Fundamental Principles of Gloss Meter Operation
The measurement of gloss is governed by the principle of specular reflection, where the angle of incidence of a light beam equals the angle of reflection. A gloss meter, or glossmeter, is a precision instrument designed to quantify this phenomenon by projecting a beam of light onto a test surface at a fixed, standardized angle and measuring the amount of light reflected by a sensor positioned at the mirror-image angle. The intensity of the reflected light is compared to that reflected from a calibrated reference standard, typically a highly polished, plane black glass surface with a defined refractive index. This ratio, expressed as a Gloss Unit (GU), provides a dimensionless value where the reference standard is assigned a value of 100 GU for the given geometry.
The selection of the measurement angle is paramount and is dictated by the anticipated gloss range of the sample. International standards, primarily ASTM D523 and ISO 2813, define three primary geometries: 20° for high-gloss surfaces, 60° for intermediate-gloss surfaces, and 85° for low-gloss or matte surfaces. This multi-angle approach is necessary due to the non-linear response of the human eye to gloss differences across the full gloss spectrum. A high-gloss automotive control panel, for instance, requires a 20° measurement to effectively discriminate between small variations at the high end of the scale, whereas a matte-finish medical device housing is best evaluated at 85° to maximize measurement sensitivity and repeatability.
The AGM-500 Gloss Meter: Specifications and Technical Capabilities
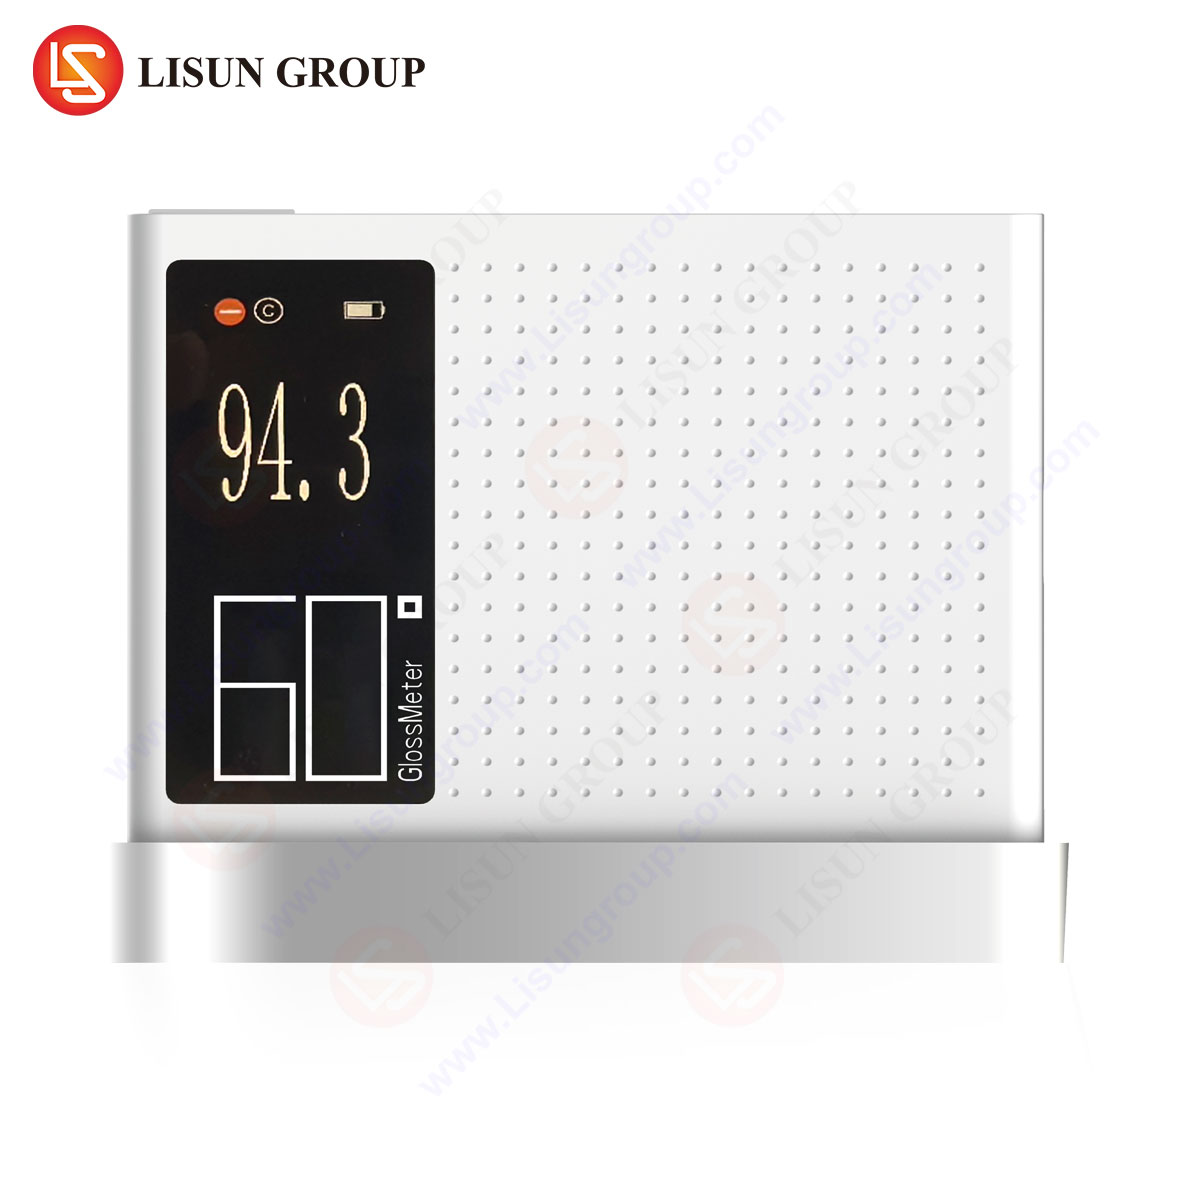
The LISUN AGM-500 Gloss Meter embodies the application of these optical principles into a robust, handheld instrument designed for laboratory and production floor deployment. Its design incorporates a high-intensity LED light source, a spectral response filter tuned to the CIE luminous efficiency function (CIE 1931 Standard Observer), and a silicon photocell detector, ensuring long-term stability, minimal drift, and conformity to international standards.
The instrument’s key specifications include multi-angle capability (20°, 60°, and 85°), allowing it to characterize surfaces across the entire gloss spectrum without the need for multiple devices. Its measurement range is extensive, from 0 to 2000 GU, with high resolution (0.1 GU) and accuracy, ensuring it can handle the demanding requirements of both high-reflectance and ultra-matte applications. The device features a high-contrast LCD display, internal memory for batch recording of measurements, and statistical analysis functions, including average, maximum, minimum, and standard deviation calculations. Data output is facilitated via a USB interface for seamless integration into quality management systems. The AGM-500 is calibrated against NIST-traceable reference standards, providing an auditable chain of measurement traceability that is crucial for certified manufacturing processes.
Industry-Specific Applications of Gloss Measurement
The quantitative data provided by instruments like the AGM-500 is indispensable for quality assurance and process control in numerous technical fields.
Automotive Electronics and Interior Components: The interior of a modern vehicle is a complex assemblage of electronic control units, touchscreen displays, and decorative trim. Consistent gloss levels across these components, often manufactured by different suppliers using various plastics and coating processes, are critical for a cohesive and premium aesthetic. A gloss meter is used to validate that a dashboard panel (60° measurement) and a high-gloss black infotainment bezel (20° measurement) fall within the tight tolerances specified by the OEM. Deviations can indicate problems with injection molding parameters, paint application, or UV coating cure.
Household Appliances and Consumer Electronics: The surface finish on products like refrigerators, microwaves, smartphones, and laptops is a major determinant of perceived quality. Manufacturers employ gloss measurement to ensure batch-to-batch consistency for painted metal, coated glass, and molded polymer parts. A low-gloss (85° measurement) finish on a dishwasher front panel must be uniform to avoid visible patches or streaks, while a consistent high-gloss (20° measurement) on a smartphone frame is essential for brand identity.
Lighting Fixtures and Optical Components: For lighting applications, gloss is not solely about appearance; it can impact optical performance. Reflectors in LED fixtures are designed to maximize light output. Their surface gloss, measured at 20° or 60°, is directly correlated to their efficiency. A drop in measured GU could signal haze or micro-scratches from cleaning or degradation, leading to a measurable decrease in luminaire efficacy.
Medical Devices and Aerospace Components: In these highly regulated sectors, surface properties are often tied to function and cleanability. A smooth, high-gloss surface on a medical device housing is easier to sterilize and less likely to harbor pathogens. Gloss measurement provides a quantitative check that surface polishing or coating processes have been executed correctly. Similarly, for aerospace components, consistent surface finish can be related to aerodynamic properties or radar cross-section and must be verified against technical data sheets.
Electrical Components and Cable Systems: While often functional rather than decorative, components like switches, sockets, and insulating materials still require finish consistency. Gloss measurement can detect surface blooming on plastic components, verify the quality of a textured finish on a circuit breaker housing, or ensure a coating on a cable jacket has been applied uniformly for environmental protection.
Competitive Advantages of Modern Gloss Measurement Technology
Modern gloss meters like the AGM-500 offer significant advantages over earlier generations of instruments and subjective visual comparisons. The primary advantage is objectivity; the instrument provides a numerical value that is repeatable and reproducible, eliminating the variability inherent in human visual assessment, which can be influenced by lighting conditions, observer experience, and physiological differences.
The integration of multi-angle measurement into a single, portable unit enhances operational efficiency. A quality technician can carry one instrument to perform all necessary checks on the factory floor, from a matte texture to a piano-black finish, without switching devices or recalibrating. Features such as internal memory and statistical analysis transform the gloss meter from a simple spot-check tool into a powerful data collection node. This allows for the creation of historical quality trends, statistical process control (SPC) charts, and comprehensive product certification documentation, which is a requirement for many industrial suppliers.
Furthermore, the ruggedized design of contemporary devices ensures reliable performance in harsh industrial environments, resisting damage from drops and exposure to dust or humidity. This durability, combined with ease of use and minimal training requirements, makes precise gloss quantification accessible to a broad range of operators, thereby embedding robust quality control deeper into the manufacturing process.
Standards, Calibration, and Ensuring Measurement Integrity
Adherence to international standards is the foundation of reliable gloss measurement. The methodologies defined in ASTM D523 and ISO 2813 ensure that measurements taken in different laboratories, with different instruments, are comparable. These standards meticulously define the geometric conditions (angles of incidence and reception), the characteristics of the source and receiver, and the properties of the primary standard.
Calibration is the critical link that connects an instrument’s readings to this international framework. The AGM-500 is calibrated using master calibration tiles that are themselves traceable to national metrology institutes. Regular recalibration, typically on an annual basis, is essential to correct for any potential drift in the instrument’s optical system and to maintain measurement accuracy over time. The process involves calibrating the meter to the 100 GU value on a pristine reference tile for each angle. For ultimate accuracy, it is also recommended to use a certified zero standard (a perfect light trap) to establish the instrument’s zero point, though this is often handled internally during the calibration routine.
Proper maintenance of the instrument and its calibration standards is equally important. The measurement aperture and the surface of the calibration tiles must be kept impeccably clean, free from fingerprints, dust, and micro-abrasions, as any contamination will introduce significant errors into the measurement chain.
Interpreting Gloss Measurement Data for Quality Control
The raw Gloss Unit value is a starting point for analysis. Effective quality control involves establishing acceptable gloss ranges for specific materials and products. These ranges are typically defined in product specification documents and are based on design requirements and process capability studies.
When a measurement falls outside the pre-defined tolerance, it triggers a root-cause investigation. A lower-than-expected GU reading could indicate a surface defect such as orange peel, haze, blooming, insufficient coating thickness, or under-curing. A higher-than-expected reading might suggest over-polishing, an excessively thick coating, or a change in material formulation. By correlating gloss data with other process parameters (e.g., oven temperature, spray pressure, mold temperature), manufacturers can quickly identify and rectify the source of the variation, reducing scrap and rework.
The statistical functions of advanced gloss meters are crucial here. By taking multiple measurements across a part or from a production batch, the operator can calculate an average gloss and a standard deviation. A high standard deviation indicates poor surface uniformity, even if the average value is within tolerance, signaling a potential process instability that requires attention.
FAQ
What is the difference between gloss, haze, and distinctness of image (DOI)?
Gloss measures the amount of specular reflection. Haze, or reflected image haze, measures the cloudiness or milky appearance adjacent to the specular reflection caused by microscopic surface texture. Distinctness of Image (DOI) quantifies the sharpness with which a reflected image can be seen on a surface. While related, they are distinct properties. A surface can have high gloss but also high haze, resulting in a bright but blurry reflection. The AGM-500 is designed specifically for gloss measurement according to ISO/ASTM standards.
How often should I recalibrate my AGM-500 Gloss Meter?
The recalibration interval depends on usage frequency, environmental conditions, and internal quality procedures. For most industrial quality control applications, an annual recalibration cycle is recommended to ensure ongoing accuracy and traceability to national standards. More frequent checks using a certified reference tile are advised for critical applications or high-volume use.
Why are multiple measurement angles (20°, 60°, 85°) necessary?
The human eye perceives differences in gloss differently across the gloss spectrum. A 5 GU difference is very noticeable on a high-gloss surface but negligible on a matte one. The different angles provide optimized sensitivity across this full range: 20° for high gloss, 60° for intermediate, and 85° for low-gloss surfaces. Using the correct angle ensures meaningful and repeatable data.
Can the AGM-500 measure curved or small surfaces?
The instrument is designed for flat, standard-sized surfaces. For curved surfaces, measurements are possible if the instrument’s aperture can make flush contact with a small, representative flat portion of the curve. Accuracy on highly curved surfaces may be compromised. For very small components, the specific size of the measurement aperture must be considered to ensure the beam fits on the sample. Specialized accessories may be required for non-standard applications.
How does surface cleanliness affect gloss readings?
Dramatically. Any contamination—dust, oil, fingerprints—on either the sample surface or the instrument’s calibration tile will scatter light and lead to highly inaccurate readings, typically lowering the measured GU value. It is paramount that all surfaces are thoroughly cleaned with appropriate solvents and lint-free cloths before measurement and that the instrument’s aperture is kept clean.


