The Fundamental Principles of Gloss Quantification in Industrial Applications
Gloss, as a distinct component of visual appearance, is a perceptual attribute describing the manner in which a surface specularly reflects light. In industrial and manufacturing contexts, this subjective perception is translated into an objective, quantifiable metric through standardized gloss measurement. This quantification is critical for ensuring product quality, aesthetic consistency, and brand integrity across a vast array of sectors. The ability to numerically define and control surface gloss is indispensable for manufacturers of coatings, plastics, and finished goods, where visual appeal is intrinsically linked to perceived value and performance. The underlying principles governing these measurements are rooted in well-established optical physics and are codified by international standards organizations to ensure global uniformity in assessment and reporting.
The perception of gloss is primarily influenced by the amount of specular reflection relative to diffuse reflection. A perfectly smooth surface acts like a mirror, reflecting light at an angle equal to the angle of incidence (specular reflection). As surface roughness increases, light is scattered in multiple directions (diffuse reflection), diminishing the mirror-like effect and reducing the perceived gloss. Gloss meters, also known as glossimeters, are the specialized electro-optical instruments designed to measure this phenomenon by simulating the human eye’s response to these reflections under controlled and repeatable conditions. They provide a numerical value that correlates with the visual ranking of glossiness.
Optical Geometry and the Standardization of Measurement Angles
The core of any gloss measurement methodology is the precise geometric arrangement of the illumination source, the surface under test, and the photodetector. This geometry is not arbitrary; it is strictly defined by international standards such as ASTM D523 and ISO 2813. The angle of incidence, defined as the angle between the incident light beam and the perpendicular (normal) to the surface, is the most critical variable. Three primary angles are standardized to cover the entire range of gloss values encountered in industrial materials: 20°, 60°, and 85°.
The selection of the appropriate angle is determined by the anticipated gloss level of the sample. The 60° geometry is considered the universal angle and is used for most general-purpose measurements, covering mid-range gloss values. For high-gloss surfaces, such as high-quality automotive paints or polished electronic bezels, the 20° geometry is employed. This acute angle provides enhanced differentiation between high-gloss samples, as it is more sensitive to slight variations in surface topography that affect specular reflection. Conversely, for low-gloss or matte surfaces, like textured plastics on household appliances or anti-glare finishes on industrial control panels, the 85° grazing angle is used. This obtuse angle increases the instrument’s sensitivity to the subtle differences in diffuse scattering that characterize low-gloss materials. Some advanced instruments also incorporate a 45° angle, as per ASTM C346 for ceramics, and a 75° angle, specified for paper in ISO 8254.
The Role of Calibration and Reference Standards
To ensure absolute accuracy and inter-instrument agreement, gloss meters must be calibrated using reference standards with known, stable gloss values. These standards are typically highly polished, specular black glass tiles with a defined refractive index (typically 1.567 for sodium D light). By international convention, this black glass is assigned a gloss value of 100 Gloss Units (GU) for each of the measurement angles when measured under the standard geometric conditions.
The calibration process establishes a baseline for the instrument. The meter’s photodetector system is adjusted so that its reading when measuring the primary standard corresponds exactly to the assigned GU value. This traceable calibration chain is fundamental to all metrology, ensuring that a gloss value of 65 GU measured on one instrument in an automotive electronics lab in Germany is directly comparable to a reading of 65 GU from an instrument in a medical device manufacturing facility in Japan. Regular calibration checks using these certified reference standards are a mandatory part of any quality control protocol to guard against instrument drift and ensure long-term measurement integrity.
Introducing the AGM-500 Gloss Meter for Precision Metrology
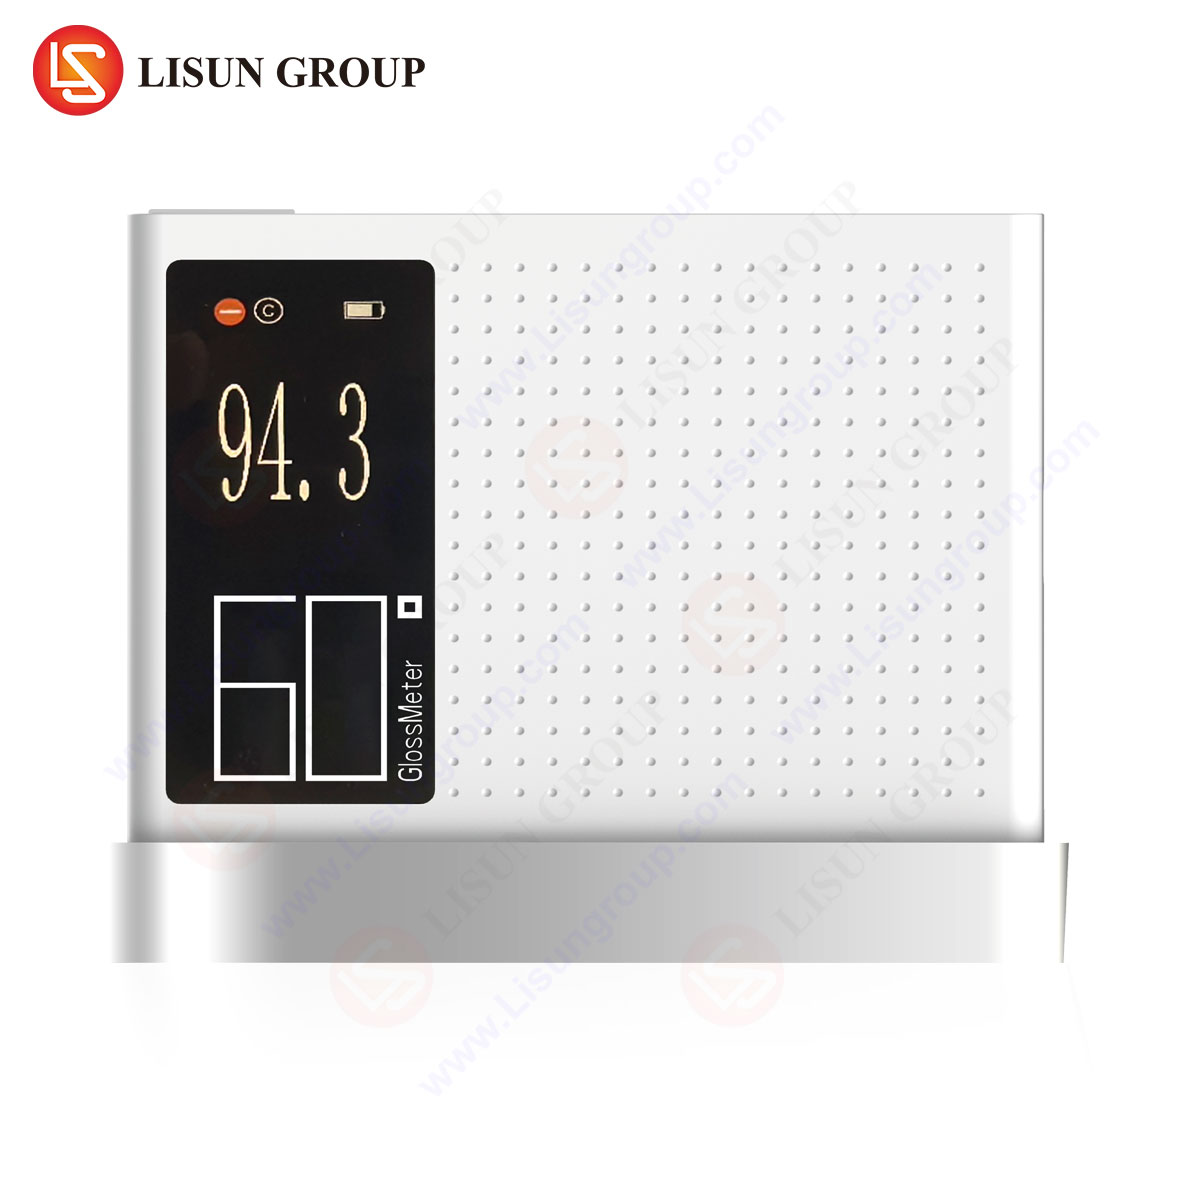
The LISUN AGM-500 Gloss Meter embodies the application of these fundamental principles into a robust, handheld instrument designed for laboratory and production floor environments. It is engineered to comply with the stringent requirements of ISO 2813, ASTM D523, and other national standards, ensuring its suitability for global quality assurance applications. The device is capable of measurements at the three standard angles (20°, 60°, and 85°), automatically selecting the appropriate angle or allowing the user to manually select based on the sample’s properties.
The AGM-500 operates on the principle of a precisely aligned light-emitting diode (LED) that projects a beam of light onto the test surface at the designated angle. A high-sensitivity silicon photoelectric cell, positioned at the mirror-reflected angle, collects the specularly reflected light. The instrument’s microprocessor then calculates the ratio of the light energy received by the receptor to that emitted from the source, comparing it to the calibration standard to derive the gloss value in GU. Key specifications of the AGM-500 include a measurement range of 0 to 1000 GU (across the three angles), a high resolution of 0.1 GU, and high accuracy, ensuring reliable data for even the most demanding applications. Its metrology performance is complemented by features such as a high-contrast LCD display, statistical calculation capabilities (AVG, MAX, MIN, standard deviation), and robust data management via USB or Bluetooth connectivity.
Application Across Electrical and Electronic Manufacturing
The consistency of surface gloss is a critical quality attribute throughout the electrical and electronic equipment industries. For consumer electronics, such as smartphones, laptops, and televisions, the aesthetic uniformity of plastic housings, glass screen covers, and metallic trim is paramount. A gloss meter like the AGM-500 is used to verify that all components, whether manufactured in-house or sourced from suppliers, meet strict aesthetic specifications, preventing mismatched finishes on a final assembly line.
In the automotive electronics sector, gloss measurement ensures that interior components—from dashboard panels and touchscreen interfaces to control knobs and vent surrounds—possess a consistent visual texture. This is vital for premium brand perception. Similarly, for lighting fixtures, the gloss of reflectors and housing components directly influences light distribution efficiency and overall visual appeal. A high-gloss reflector, precisely measured at 20°, will provide more efficient and directed light output than a matte one.
The manufacturing of household appliances, telecommunications equipment, and office devices relies on gloss control for brand identity. A kitchen appliance suite from a single manufacturer must have a uniform finish across refrigerators, ovens, and dishwashers. The AGM-500 provides the quantitative data needed to reject batches of painted steel or molded polymer that fall outside the accepted GU tolerance band. For electrical components like switches and sockets, a consistent gloss is not merely aesthetic; a significant deviation can indicate issues with the injection molding process, such as incorrect melt temperature or mold contamination, which could also affect the part’s mechanical properties.
Advanced Considerations: Surface Texture and Color Influence
While gloss meters are designed to measure specular reflection, it is important to recognize that other surface properties can influence the measurement. Surface texture, or topography, is the primary factor. Two samples can have identical chemical composition and color yet exhibit different gloss values due to variations in microscopic surface roughness imparted by different finishing processes, such as polishing, brushing, or texturing.
The color of a substrate can also introduce a minor systematic error in gloss measurement. This is due to the fact that the photodetector in a gloss meter is typically filtered to match the CIE standard illuminant C, but some absorption of light by colored pigments occurs. While the effect is generally small and often accounted for in modern instruments with sophisticated electronics, it is a recognized phenomenon. For critical applications, especially with very dark or saturated colors, it is considered best practice to calibrate the instrument and then measure samples of a similar color to ensure the highest accuracy. The AGM-500’s high accuracy and stability minimize the impact of such variables, providing reliable data across a wide spectrum of material colors.
Competitive Advantages of Modern Gloss Measurement Systems
Modern gloss meters like the AGM-500 offer significant advantages over earlier generations of instruments. Their multi-angle capability in a single, portable unit eliminates the need for multiple devices, increasing efficiency and reducing calibration overhead. Enhanced data management features allow for seamless integration into quality control software systems, enabling trend analysis and real-time production monitoring. The ruggedized design of industrial-grade meters ensures reliability in harsh production environments, resisting dust, spills, and minor impacts.
Furthermore, advancements in LED technology and photoelectric sensing provide exceptional long-term stability and repeatability, reducing the frequency of recalibration. The ergonomic design and intuitive user interface of devices such as the AGM-500 minimize operator error and training time, ensuring that measurements are taken consistently and correctly every time. This combination of precision, durability, and usability makes modern gloss meters an indispensable tool for any manufacturing operation where surface appearance is a defined element of product quality.
Frequently Asked Questions
Q1: Why must we use different angles (20°, 60°, 85°) to measure gloss?
The different angles provide varying levels of sensitivity to different gloss ranges. A 20° angle exaggerates differences between high-gloss surfaces, making it ideal for distinguishing between premium automotive paints or polished electronics. The 60° angle is a good general-purpose setting for mid-gloss materials. The 85° angle is highly sensitive to subtle differences in low-gloss, matte surfaces, such as textured plastics or anti-glare coatings.
Q2: How often should a gloss meter be calibrated?
The calibration frequency depends on usage intensity and the criticality of the measurements. For most quality control environments in industries like automotive or consumer electronics, a monthly or quarterly calibration check using a certified calibration tile is recommended. If the instrument is used heavily or subjected to a harsh environment, more frequent checks are advised. Formal recalibration by an accredited lab should be performed annually.
Q3: Can the color of a sample affect the gloss reading?
Yes, to a minor degree. Very dark colors can absorb some of the light from the gloss meter’s source, potentially leading to a slightly lower reading compared to an identical surface with a white substrate. However, modern high-quality gloss meters like the AGM-500 are designed to minimize this effect. For the most precise work on dark colors, measuring a similar-colored reference standard can provide the highest accuracy.
Q4: Is it necessary to use the same measurement angle for comparing different materials?
Absolutely. Gloss values are only directly comparable when measured using the exact same geometric conditions (angle of incidence). A value measured at 60° GU has no correlation to a value measured at 20° GU. The angle is an intrinsic part of the measurement standard and must be kept constant for any comparative analysis.
Q5: What is the significance of the gloss unit (GU) scale?
The Gloss Unit scale is defined by the calibration to a perfect reference standard. A value of 100 GU at 60° means the sample reflects the same amount of light as the perfect black glass standard under those conditions. A value of 10 GU means it reflects only 10% of that light. The scale is linear, making it a straightforward and absolute metric for specification and quality control.


